How to Blur or Pixelate Faces, License Plates and Private Info in a Photo
Before you post a street photo, share a screenshot or send a picture of a document, it is worth asking what else is in the frame. This guide explains the three ways to hide something in an image, which of them can be undone, and how to censor a photo in your browser without sending it to anyone.
What needs hiding, and why
Most redaction falls into a few everyday situations:
- Bystanders. A travel photo or a shot from a school event often includes strangers or other people’s children who never agreed to be online.
- Vehicles and addresses. License plates, house numbers and street signs next to your front door can tie a photo to a real person and place.
- Documents. Showing that a form was filled in, or asking for help with a bill, rarely requires the account number, date of birth or signature on it.
- Screenshots. Chat screenshots carry names, phone numbers and profile pictures of people who are not part of the conversation you want to show.
Blurring a stranger’s face in a holiday photo and hiding a bank card number are different problems, and they call for different tools.
Blur, pixelate or solid box: how each one works
All three methods replace the original pixels in an area, but they throw away different amounts of information.
Blur replaces each pixel with a weighted average of its neighbors. The radius controls how far that averaging reaches. Fine detail such as an iris or a letter stroke disappears first; large shapes, overall color and brightness survive. A face under a light blur still reads as a face with a particular skin tone, hairline and head shape.
Pixelation (or mosaic) divides the area into a grid of blocks and fills each block with its average color. With 10-pixel blocks, every 100 original pixels become one color. Each block is still an exact average of what was underneath.
A solid box paints over the area with one flat, opaque color. Nothing of the original remains. It is the least attractive option and the only one that removes the information completely.
| Method | What survives | Can it be undone or guessed? | Good for |
|---|---|---|---|
| Light blur | Shapes, colors, overall layout | Sometimes, especially short text | Background faces, softening distractions |
| Strong blur | Rough color and brightness | Rarely for faces; still risky for text | Faces, plates in casual photos |
| Pixelate | Average color of each block | Yes for text with small blocks | Faces and plates where a visible censor look is fine |
| Solid box | Nothing | No | Passwords, card and account numbers, IDs, signatures |
Why light blur and pixelation are not always safe
A blur is not a lock. It is closer to frosted glass: a predictable mathematical operation that hides detail from a casual glance.
Text is the weak spot. A license plate uses a known font, a fixed number of characters and a limited alphabet. Someone who wants to recover it can blur or pixelate every possible candidate the same way and compare the results with your image; the closest match wins. Security researchers have published tools that do exactly this to recover pixelated text from screenshots, and it works best when the blocks are small and the font is standard, which is precisely the case for screenshots.
Distortion effects are weaker still. A swirl moves pixels around without destroying them, and in a widely reported 2007 case police reversed one to reveal a hidden face.
Faces are harder to reconstruct from a strong blur, but identity leaks through context: clothing, a tattoo, a car, the building behind someone. Blurring the face does not anonymize a person that friends or colleagues would recognize anyway.
Step by step: blur or pixelate in Photoyam
The Blur & Pixelate tool works like a censor brush: you paint over what should be hidden, and the effect appears only where you painted.
- Open your photo. On the Blur Image page, click Choose an image or drop a file onto the page. The Blur & Pixelate window opens with your photo. Images larger than 1,600 pixels on the longest side are scaled down to 1,600 pixels for this tool.
- Choose the effect. Under Effect, pick Blur for a soft, natural look or Pixelate for visible blocks.
- Set Strength. The Strength slider runs from 2 to 40. In Blur mode it is the blur radius in pixels; in Pixelate mode it is the block size. Start high. On a 1,600-pixel image a face often needs 20 or more before it stops being recognizable.
- Size the brush and paint. Set the Brush slider so the circle is a little larger than the feature you are hiding, then drag over each face, plate or line of text. Paint a margin around the edges; a sliver of untouched letter can give it away.
- Check, adjust, or start over. Strength and Effect apply to everything you have painted, so you can change them after painting and see the result immediately. There is no single-stroke undo: Reset clears all painted areas. To censor everything, for example a thumbnail that should only hint at the content, click Whole image.
- Download.
Click Download PNG. The file is named after your original with
-bluror-pixelateadded, so the uncensored photo is not overwritten.
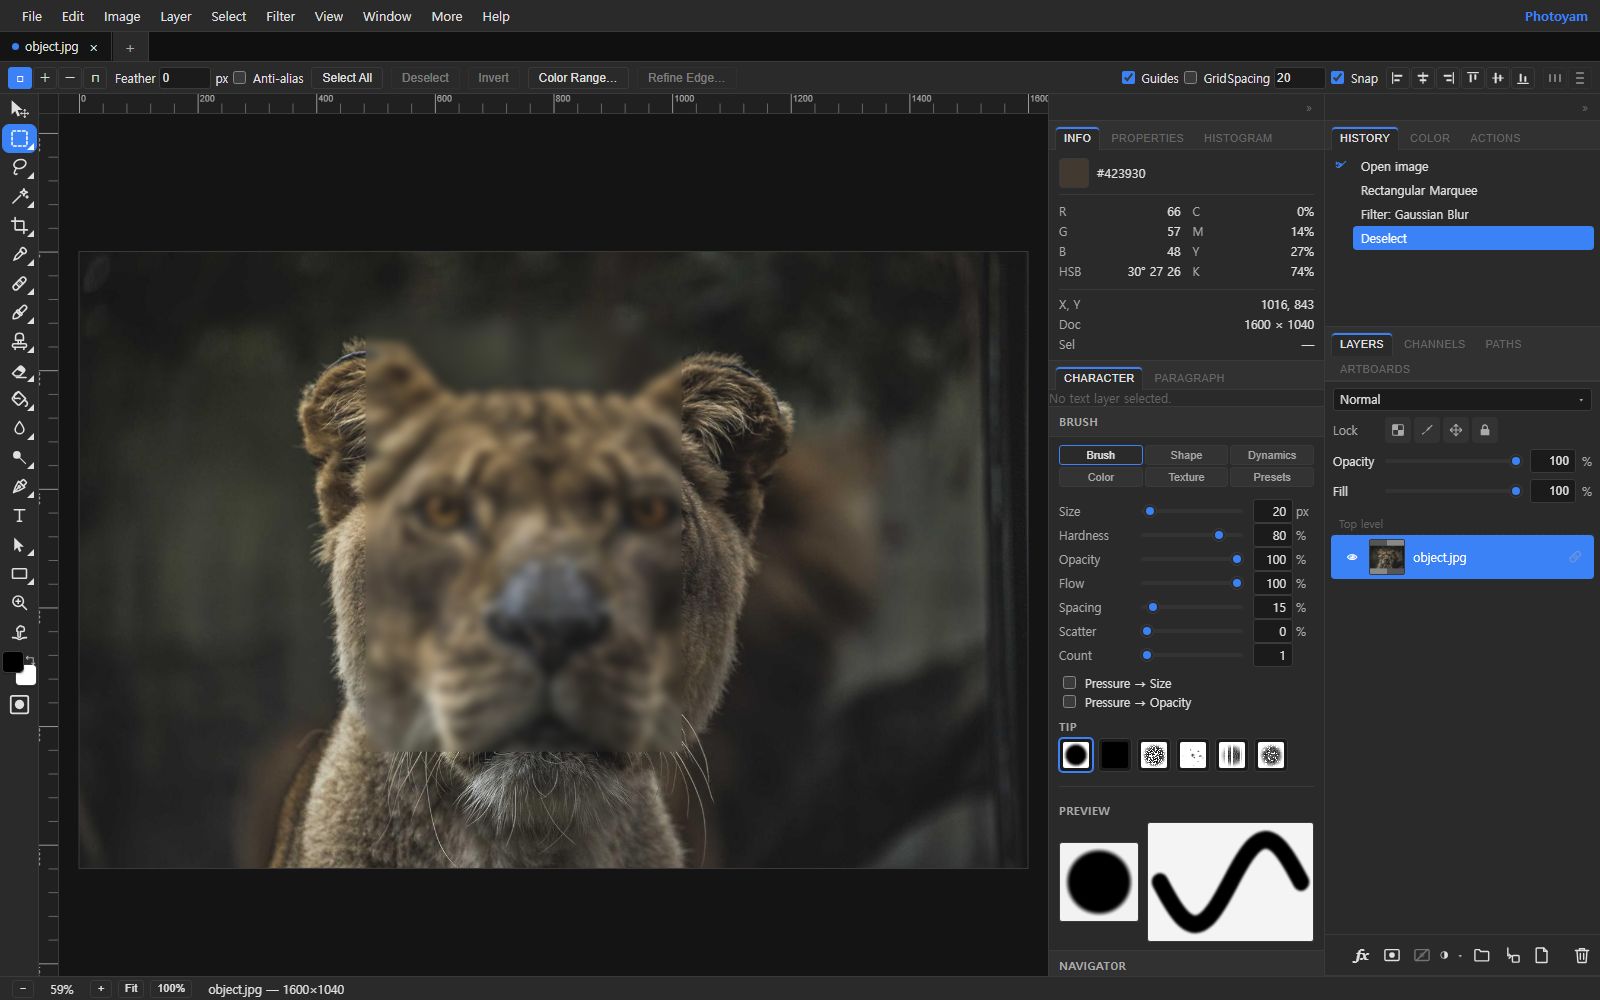
Working at full resolution in the editor
If you need the original resolution, open the photo in the Photoyam editor. Select the area with the Rectangular Marquee or Elliptical Marquee, then run Filter › Blur › Gaussian Blur (radius up to 20) or Filter › Stylize › Mosaic, whose Cell Size goes up to 200 pixels. Only the selected area changes. Then export with File › Export As.
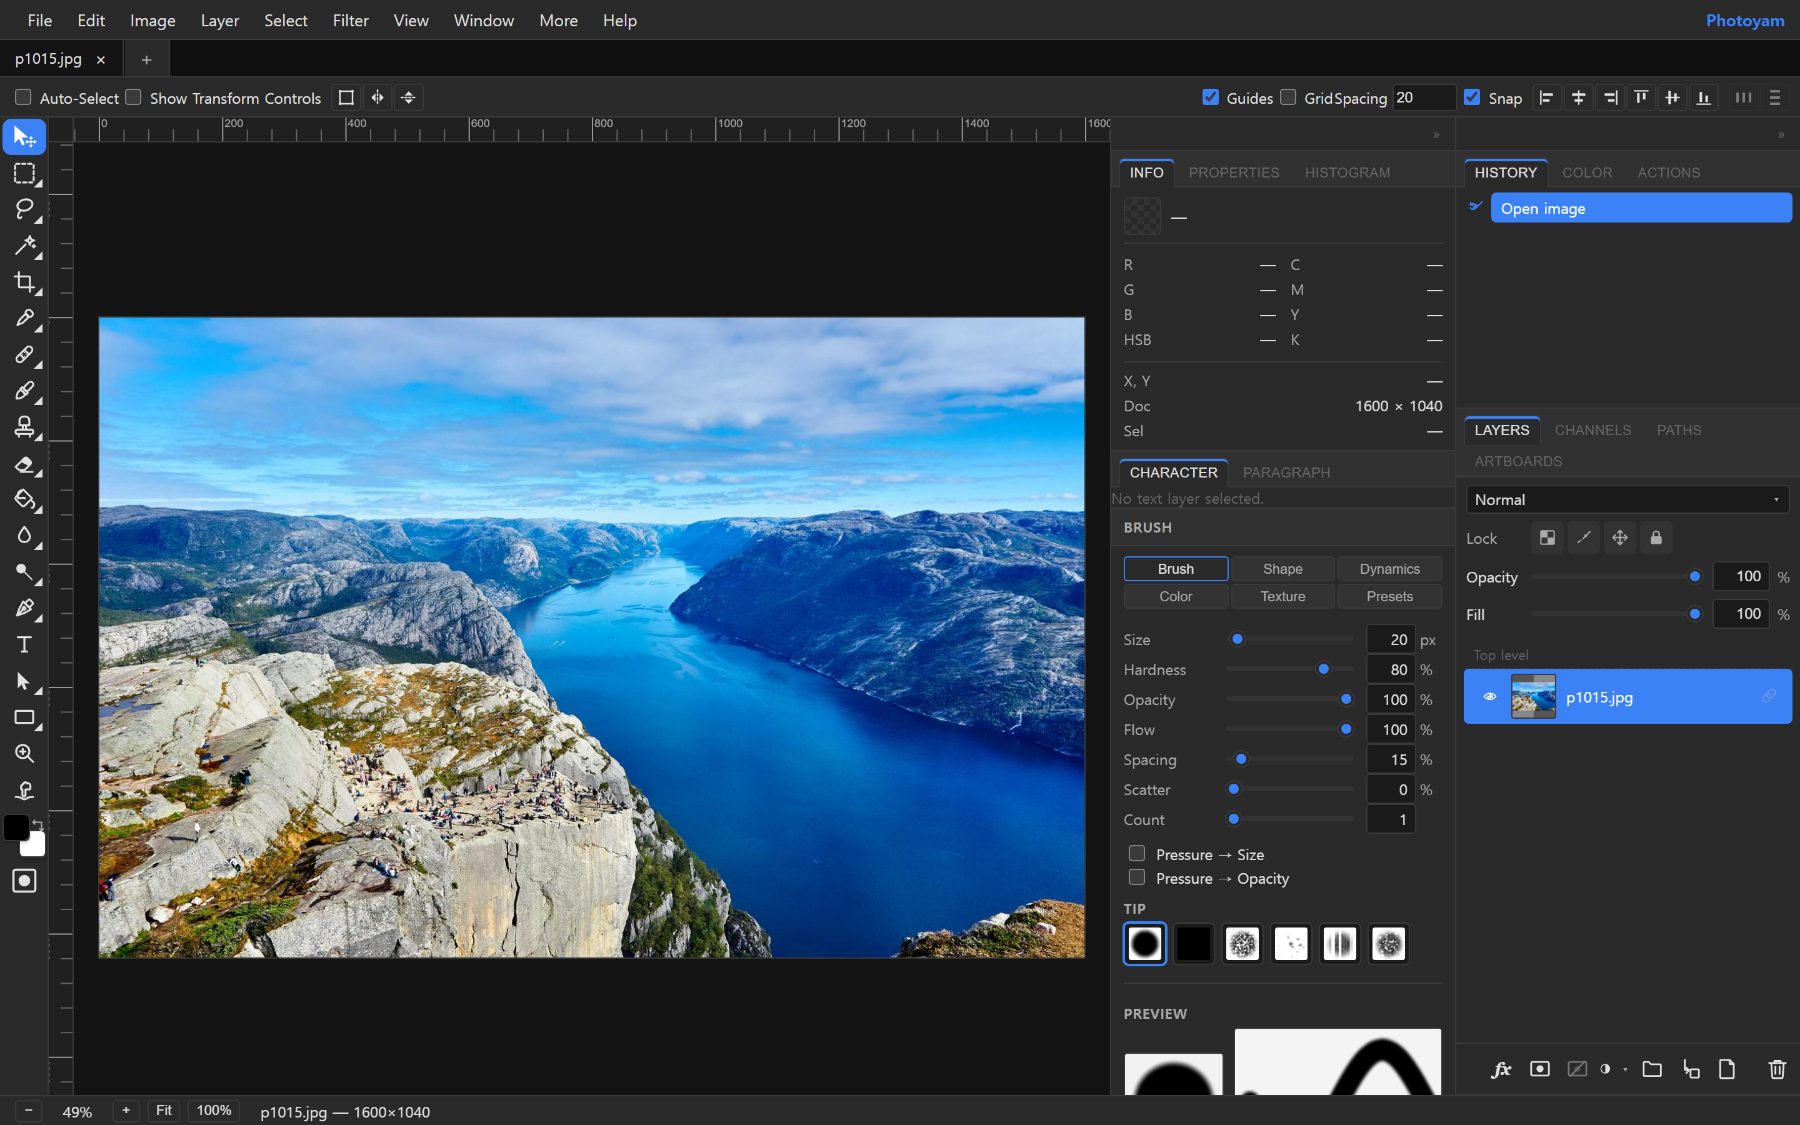
Covering sensitive text with a solid box
The quick tool blurs and pixelates; it does not draw opaque boxes. For numbers, codes and anything that must not be recovered, use the editor:
- Open the image in the editor and draw a Rectangular Marquee over the text, with a little margin on every side.
- Choose Edit › Fill… and fill with black (or any solid color). Keep the fill at full opacity; a semi-transparent box can be lightened to reveal what is underneath.
- Export a flat file with File › Export As › PNG or JPG.
If you draw the box on its own layer and share a layered file (a project file or a PSD), the original text is still underneath and anyone can hide the box. Share a flattened PNG or JPG. And when you can, crop instead: text that is outside the frame cannot leak.
The hidden leak: metadata
Photos from phones and cameras usually carry EXIF metadata: the device model, the date and time, and often the GPS coordinates of where the picture was taken. Blurring your house number is pointless if the file itself records your address to a few meters.
When Photoyam saves an image, it writes a new file from the pixels on the canvas. EXIF data from the original, including GPS location, is not copied into the downloaded PNG, JPG or WebP. Photoyam does not display or edit metadata, so to confirm what a file contains, check its properties in your operating system. Files sent as email attachments or as “documents” in messaging apps usually keep their metadata.
Why it matters that nothing is uploaded
An image you need to censor is, by definition, one that contains something private. Uploading it to an online editor puts the uncensored original on someone else’s server. Photoyam reads the file from your disk, processes it in your browser tab and saves it back. There is no other copy to leak.
Common mistakes
- Leaving edges uncovered. The top of a letter or the corner of an eye outside the brush is often enough to identify it. Paint generously.
- Forgetting reflections and repeats. The same plate may appear in a mirror, a window or a second car in the background. A name may appear in a chat header and again in a reply.
- Sharing the layered file. Covering text on its own layer and sending the project file leaves the original intact.
- Ignoring context. A blurred face next to a unique tattoo, a name badge or a company car is not anonymous.
Try it in Photoyam
Brush blur or pixelation over faces, plates and text, adjust the strength, and download the result. Free, no sign-up, and the photo never leaves your device.
FAQ
Is pixelation safer than blur?
Neither is safe for short, predictable text such as a license plate, a card number or a password. Both keep some information about the original pixels. Large pixel blocks remove more than a light blur, but for anything truly sensitive, cover it with a solid opaque box or crop it out.
Is my photo uploaded when I use the Blur & Pixelate tool?
No. The image is decoded, processed and saved inside your browser tab. Photoyam has no server that receives your files, which is exactly what you want when the photo contains something private.
Does the downloaded file still contain GPS location data?
No. Photoyam writes a new file from the pixels on the canvas, so camera EXIF data such as GPS coordinates, the camera model and the capture time is not carried over. Photoyam does not show or edit metadata, so if you need to check a file, use your operating system's file properties.
Can I undo one brush stroke in the Blur & Pixelate tool?
Not individually. Reset clears every painted area so you can start again. Changing Strength or switching between Blur and Pixelate updates all painted areas at once, so you do not need to repaint to try a different look.