Camera Raw Filter Basics: Temperature, Clarity, Dehaze and More
The Camera Raw Filter packs a photographer’s whole basic workflow, white balance, exposure, tone, local contrast, haze and color, into one panel of 13 sliders. This guide explains what each slider actually does to the pixels in Photoyam, the order that gets the best results, and how to avoid the halos, crunchy skies and neon colors that give over-edited photos away.
What the filter is (and is not)
In Photoshop, Camera Raw started as a converter for camera raw files and later became available as a filter for any layer. Photoyam’s version is the filter: it works on the pixels of a photo that is already open, such as a JPG, PNG, WebP or a PSD layer. It does not read raw camera files.
That distinction matters because a JPG has already been developed. Highlights that the camera clipped to pure white are gone, and no slider can recover them. What the filter does well is refine a decent photo: fix a color cast, rebalance bright and dark areas, add depth and cut through haze, with controls designed to avoid the damage that cruder tools cause.
Opening it the right way
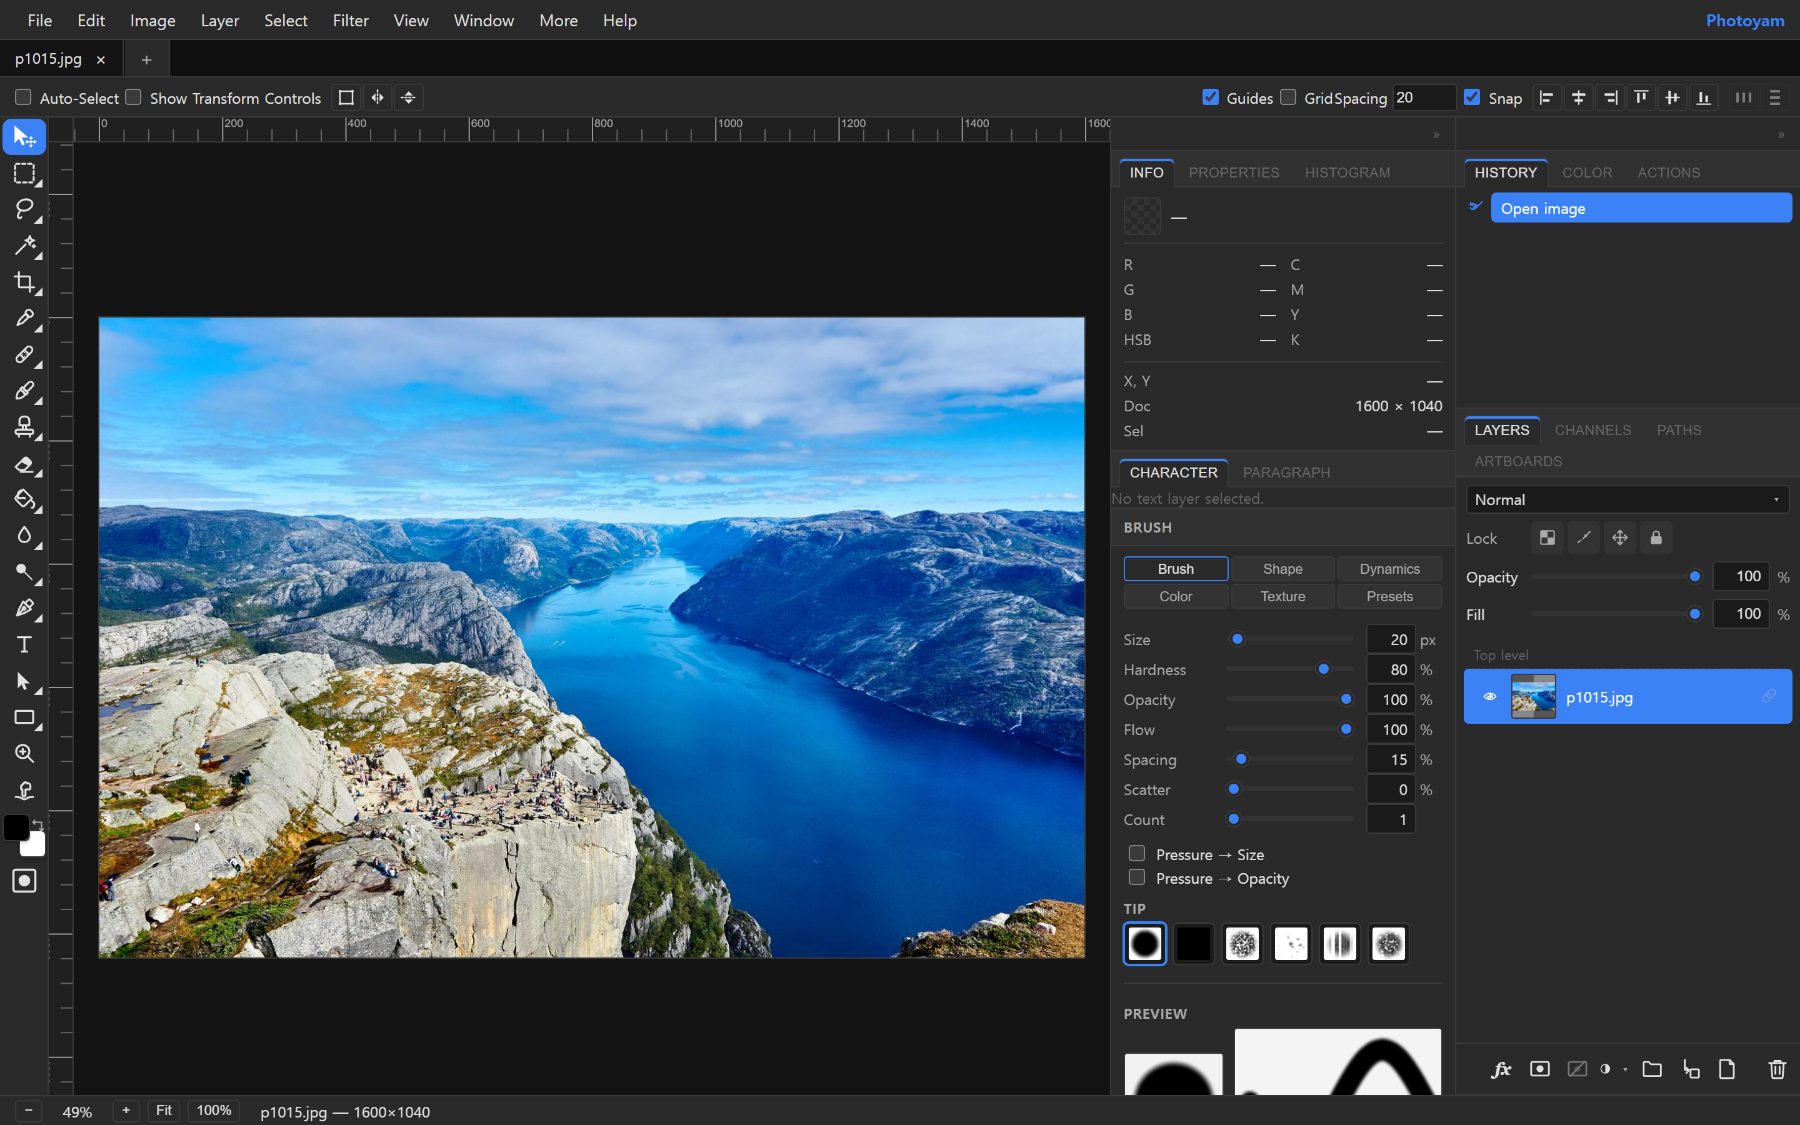
- Pick the layer. Open your photo in the Photoyam editor and select the layer to edit in the Layers panel.
- Open the filter. Choose Filter › Camera Raw Filter…. The filter dialog opens with Camera Raw selected, its sliders at zero and a live preview thumbnail.
- Adjust. Work through the sliders in the order described below, watching the preview.
- Commit. Click Add as Smart Filter to keep the settings editable (recommended), or Apply to change the pixels directly as a single undoable step.
The 13 sliders, one by one
All sliders run from −100 to +100 except Exposure, which is measured in stops from −5 to +5. Zero always means “no change.” Internally the filter runs the groups in a fixed order: white balance and exposure, then tone, then dehaze, then local contrast, then color.
White balance: Temperature and Tint
Temperature moves colors along the blue–yellow axis; positive values warm the image, negative values cool it. Tint handles the green–magenta axis: positive adds magenta, negative adds green, which is useful under fluorescent lights or foliage-filtered shade. Photoyam applies both as gains on the red, green and blue channels in linear light, the way a camera would, and compensates so neutral grays keep their brightness. A warm correction therefore does not quietly brighten or darken the photo.
Exposure
Exposure multiplies the scene light: +1 doubles it, as opening the lens by one stop would, and −1 halves it. Because it works in linear light, it behaves like a real exposure change rather than a flat brightness shift. It affects every tone, so bright areas reach white quickly; use it for the overall level and let the tone sliders handle the extremes.
Tone: Contrast, Highlights, Shadows, Whites and Blacks
These five controls combine into one brightness curve, applied in a way that preserves each pixel’s hue, so bright colors do not shift toward a different shade as they get lighter. Each is weighted toward its own part of the tonal range, which acts like a built-in luminance mask:
- Contrast bends an S-curve around middle gray; negative values flatten it.
- Highlights has its strongest effect around the upper third of the brightness range. Lower it to bring detail back into a bright sky or a white dress without touching the shadows.
- Shadows mirrors that for the lower third. Raise it to open up a backlit face or a dark foreground.
- Whites and Blacks move the extreme ends: Whites barely touches anything below the brightest tones, and Blacks barely touches anything above the darkest. Use them to set where the image reaches true white and true black, much like the black and white points in Levels.
Pure black and pure white stay fixed for Highlights and Shadows, and the gains are limited so the curve never reverses, which is why these sliders are much harder to break than a hand-drawn curve.
Dehaze
Haze adds a veil of whitish light that lowers contrast and saturation more in distant parts of a scene. Dehaze estimates how much veil each area carries, based on how bright the darkest color channel is there, and subtracts it. Photoyam bounds that estimate per pixel, so a dark subject standing against a bright sky is not treated as hazy just because its neighbor is, and it limits how strongly any pixel can be amplified. Negative values do the opposite and add a soft, foggy veil.
Clarity and Texture
Both boost local contrast: each pixel is compared with a blurred version of its surroundings, and the difference is increased. Clarity uses a large radius (scaled to the image, roughly a fortieth of its longest side), so it strengthens shapes, clouds and mid-sized structure. Texture uses a radius of a few pixels, so it acts on surface detail such as bark, fabric or skin. Clarity is weighted toward midtones, and both are passed through a soft limit that caps how far a pixel can be pushed at a strong edge, which keeps halos in check. Negative values soften: a little negative Texture is a gentle way to smooth skin without blurring eyes and hair.
Vibrance and Saturation
Saturation scales all color intensity equally; −100 produces a neutral grayscale image. Vibrance boosts muted colors more than already-strong ones and stops before any channel runs out of range, so it rarely produces neon patches. It does not specifically protect skin tones, so still check faces after raising it.
A reliable order of adjustments
The panel order roughly matches a good working order. Each step depends on the one before it, so work top to bottom and revisit only if needed.
- Temperature and Tint. Neutralize first: every later judgment about brightness and color depends on it.
- Exposure. Set the overall brightness, usually by how the main subject looks.
- Highlights and Shadows. Pull back bright areas and open dark ones.
- Whites and Blacks. Reset the end points so the image still has a true black and a clean white after the previous step compressed it.
- Contrast. Add or remove overall punch.
- Dehaze, Clarity and Texture. Add depth and detail in small amounts.
- Vibrance, then Saturation. Color intensity last, since most earlier sliders already change it.
Over-processing mistakes
- Halos. Bright rims around trees, buildings or people against the sky come from strong local contrast. The soft limit reduces them, but Clarity above about +40 on a high-contrast edge still shows. Back it off, or mask the edge area.
- Crunchy skies. Clarity, Texture and Dehaze all amplify small differences, including noise and JPEG artifacts in smooth blue areas. Keep Texture near zero on skies and water.
- The “HDR look.” Shadows at +100 with Highlights at −100 flattens the photo into gray mush. Real scenes have darker shadows than highlights; keep that relationship.
- Oversaturation. Dehaze and Contrast both raise saturation as a side effect. Check colors after them, prefer Vibrance, and look at skin in particular.
- Heavy Dehaze on portraits. It darkens and hardens skin. Use it on landscapes, not faces.
- Editing at the wrong zoom. Judge Texture and Clarity at 100%, not only in a small preview.
Using it as a smart filter
A smart filter stores the filter and its settings on the layer instead of rewriting the pixels, so you can come back to it at any time. In Photoyam, click Add as Smart Filter in the filter dialog. It works on a normal raster layer or on a smart object (Layer › Convert to Smart Object), whose original pixels stay protected. Select the layer and the Properties panel then shows:
- Every slider, still editable, with a toggle to switch the filter off for a quick before-and-after, plus buttons to reorder or remove it.
- Blending Options with a Mode and Opacity for the filter. Lowering opacity is the simplest way to tone down an edit that went too far; the Luminosity mode keeps the tonal changes while discarding the color shifts.
- A Smart Filter Mask. Click Add Filter Mask, then paint black on the mask to hide the filter from those areas, for example to keep Clarity off a face while it sharpens the landscape behind it. Invert flips the mask.
Smart filters cost some performance, because the filter is recalculated when the layer is redrawn, but for a single photo the flexibility is almost always worth it.
Try it in Photoyam
Open a photo, choose Filter › Camera Raw Filter…, and add it as a smart filter so every slider stays editable. Free, no sign-up, and your photos never leave your device.
FAQ
Can Photoyam open camera RAW files?
No. Despite the name, the Camera Raw Filter works on the pixels of an image that is already open, such as a JPG, PNG, WebP or a layer in a PSD. Export a JPG or TIFF from your camera or raw converter first, then use the filter for the finishing adjustments.
What is the difference between Clarity and Texture?
Both add local contrast, but at different scales. Clarity compares each pixel with a wide neighborhood, so it strengthens shapes and larger tonal structure. Texture uses a radius of only a few pixels, so it affects fine surface detail like skin pores, bark or fabric.
Why do my skies look crunchy after editing?
Usually a combination of high Clarity, high Dehaze and strong Highlights recovery, which together exaggerate small brightness differences and noise in smooth areas. Lower Clarity first, then Dehaze, or paint the sky out of a smart filter mask.
Can I change the settings after applying the filter?
Only if you add it as a smart filter. Click Add as Smart Filter instead of Apply, and the filter's sliders stay editable in the Properties panel, along with its blend mode, opacity and a filter mask.