Smart Filters: Non-Destructive Filters You Can Edit Later
A normal filter rewrites your pixels the moment you click Apply. A smart filter stores the filter and its settings instead, and runs it every time the image is drawn. This guide explains how that works, walks through adding and editing a filter stack in Photoyam, and covers the mask, blending and performance details that decide whether the result stays easy to change.
Why use smart filters
Filters are the edits you most often want to revisit. A Gaussian Blur radius that looked right at 1 a.m. looks heavy the next morning; a client asks for “a bit less sharpening” after you have made twenty other changes. With a destructive filter the only way back is History, which also throws away everything you did afterward. With a smart filter you open its settings and change one number.
Typical situations where that pays off:
- Sharpening for output. Web, print and social media each want a different amount. Keep Unsharp Mask or Smart Sharpen live and adjust per export.
- Background blur and depth effects. Blur a background, then paint on the mask to keep the subject crisp, and refine that edge later.
- Stylized looks. Stacks such as Add Noise followed by a light blur, or Oil Paint with a reduced opacity, are much easier to balance when every step stays editable.
How a smart filter works
A smart filter is a small record attached to a layer: which filter, its parameter values, whether it is on, and how it blends. The layer’s pixels are never modified. When Photoyam draws the document, it takes the untouched pixels, runs each enabled filter in turn, blends each result using that filter’s mode and opacity, applies the optional mask, and composites the outcome into the image. The filtered result is kept in memory, so it is only recalculated when something it depends on changes.
Two consequences are worth knowing up front. First, order matters: blurring and then adding noise gives crisp grain on a soft image, while adding noise and then blurring softens the grain away. In Photoyam the stack runs top to bottom, so the first filter in the list is applied first. Second, you can always get the original back: turn a filter off or delete it, and the layer looks exactly as it did before.
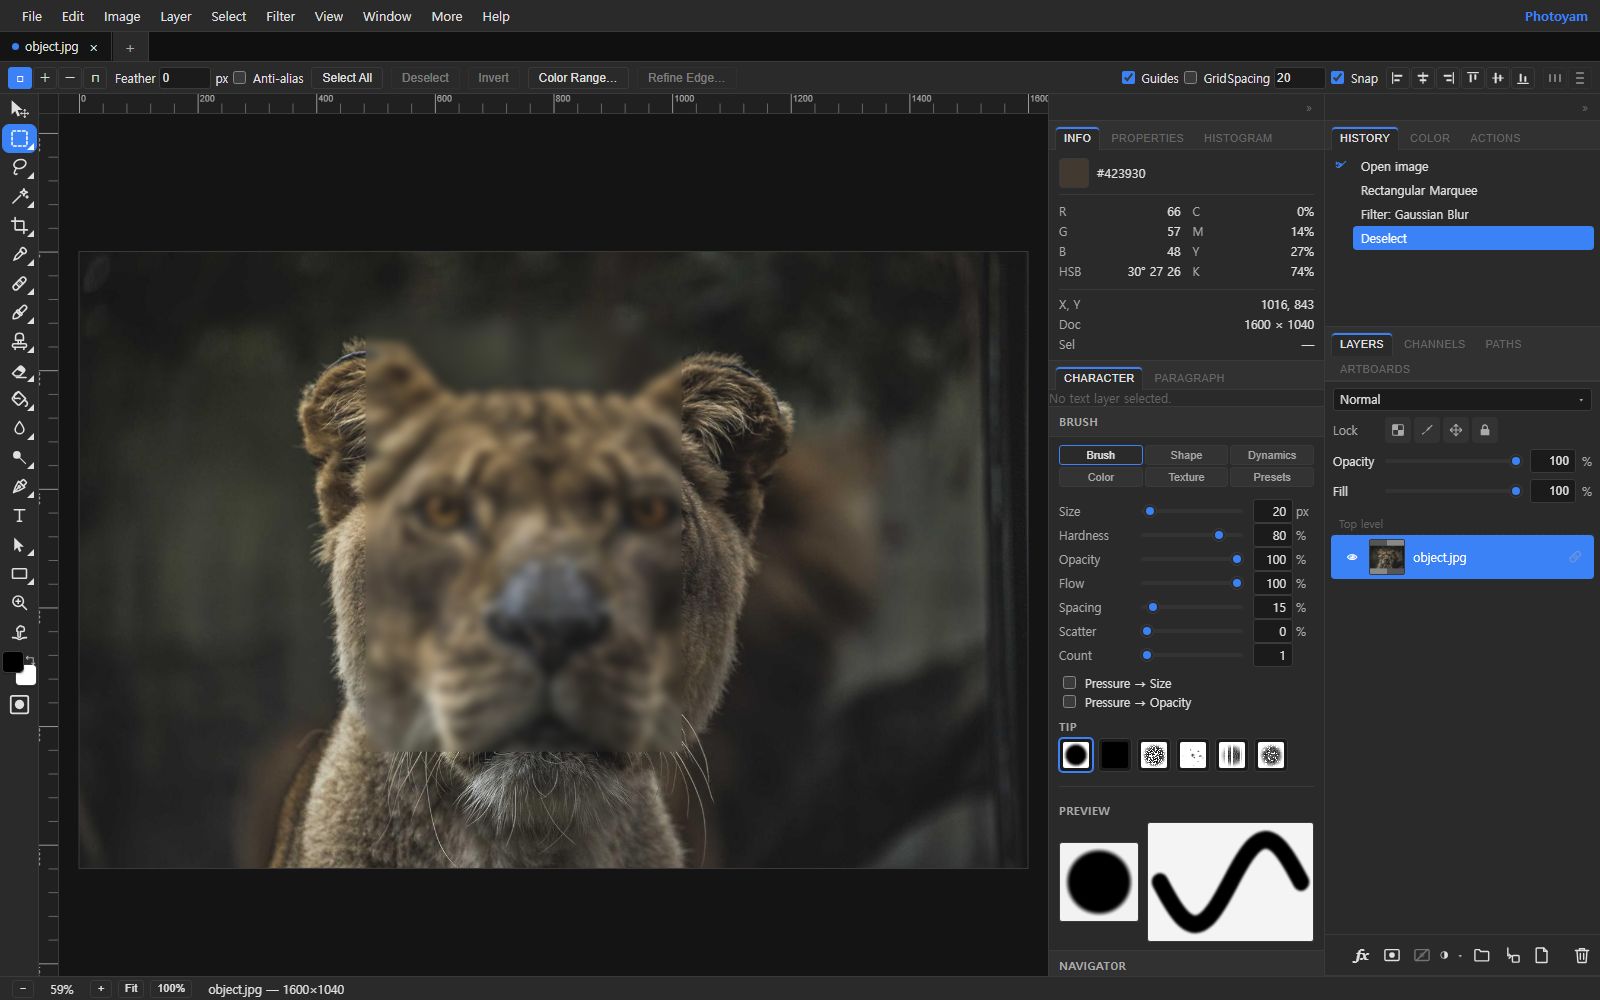
Add and edit a smart filter
- Select the layer. Click a raster layer or a smart object in the Layers panel. Smart filters cannot be added to text, shape, adjustment or group layers.
- Open the filter. Choose Filter › Filter Gallery…, or pick a specific filter from a Filter submenu such as Filter › Blur › Gaussian Blur. Both open the same Filter Gallery window, with a small live preview and the filter’s sliders.
- Click Add as Smart Filter. The gallery has three buttons: Cancel, Add as Smart Filter and Apply. Apply bakes the filter into the pixels. Add as Smart Filter attaches it to the layer as an editable entry. The settings you chose become the starting values.
- Find the stack in the Properties panel. Open the Properties tab. Each smart filter appears as a row with a toggle (◉ on, ○ off), its name, ↑ and ↓ buttons to reorder, and ✕ to remove it. Below the name are its parameter sliders. Drag one and the canvas updates; each drag is a single undo step.
- Set Blending Options. Every filter row has its own Mode and Opacity. Opacity works like Photoshop’s Fade command, but you can change it forever: 40% Unsharp Mask is often more natural than a weaker setting at 100%. Mode lists every layer blend mode except Dissolve. Setting a sharpening filter to Luminosity avoids color fringes; setting a blur to Soft Light or Screen gives a glow.
- Stack more filters. Repeat from step 2 to add another. New filters are added to the list; use the arrows to move them so they run in the order you want.
The Smart Filter Mask
A smart filter covers the entire layer, even when a selection is active. To limit where filters show, use the Smart Filter Mask. There is one mask per layer, and it controls the whole stack at once: white shows the filtered result, black shows the original, unfiltered pixels, and grays blend between them.
- Add it. Once a layer has at least one smart filter, the Properties panel shows a Smart Filter Mask row with an Add Filter Mask button. The new mask is white, so nothing changes yet.
- Paint it. Click the mask thumbnail to make it the paint target, then use the Brush or Eraser. Paint black over the areas that should stay unfiltered, such as a subject’s face under a background blur. A soft brush gives a natural transition.
- Toggle it. Shift+click the thumbnail to disable the mask temporarily and see the filter everywhere.
- Invert or delete it. Invert swaps what is filtered and what is not, which is handy when it is easier to paint the small area. Delete removes the mask and the filters apply everywhere again.
If you need different filters in different areas, the single mask is not enough. Duplicate the layer, give each copy its own filters and mask, and stack them.
Raster layers vs smart objects
Photoshop only allows smart filters on smart objects. Photoyam also allows them on ordinary raster layers, which is convenient but behaves differently in one important way: you can still paint on a raster layer. Brush strokes go into the pixels underneath the filters, so painting on a blurred layer produces blurred paint. That is useful for retouching behind a filter and surprising if you did not expect it.
A smart object wraps the pixels in a protected container. Use Layer › Convert to Smart Object on a raster layer; its existing smart filters carry over. The source is stored write-once: it can no longer be painted on directly, and everything you see is derived from it. Layer › Replace Contents swaps in a different image while keeping the filters, which suits templates and mockups.
| Method | Pixels changed? | Editable later | Best for |
|---|---|---|---|
| Apply | Yes, immediately | Only by undoing | Quick fixes, selection-limited edits, final output |
| Smart filter on a raster layer | No | Yes; you can still paint the layer | Retouching while keeping filters adjustable |
| Smart filter on a smart object | No, source protected | Yes; contents replaceable | Templates, mockups, layers whose contents you may swap |
Performance and when to bake
Photoyam runs entirely in your browser, so every smart filter uses your own device’s processor and memory. The result is cached, so panning and zooming stay fast, but any change to a parameter, the filter order or the layer’s pixels reruns the stack. Filters that look at large neighborhoods, such as Lens Blur, Oil Paint, Reduce Noise or a large-radius Surface Blur, take noticeably longer on big images. A few habits help:
- Tune the heaviest filter last, and turn off the others while you drag its sliders.
- Keep stacks short. Three well-chosen filters beat eight small nudges.
- Close other heavy browser tabs when working on large photos.
Bake the stack when it is final, when the document feels sluggish, or before handing pixels to a tool that needs real ones. For a smart object, use Layer › Rasterize › Smart Object. For a raster layer, convert it to a smart object first and then rasterize it. Duplicate the layer and hide the copy beforehand if you might want the editable version back.
Common mistakes
- Expecting a selection to limit the filter. Selections affect Apply, not smart filters. Use the Smart Filter Mask.
- Getting the order backward. If a stack looks wrong, try swapping two filters with the arrows before changing any settings.
- Maxing a slider instead of using Opacity. A strong filter at reduced opacity often looks cleaner than a weak filter at full strength.
- Assuming a JPG keeps the stack. Exporting flattens everything; keep working in the layered document if you want to edit later.
Try it in Photoyam
Add smart filters, reorder them, fade them and mask them in a free editor that runs in your browser. No sign-up, and your photos never leave your device.
FAQ
Do I have to convert a layer to a smart object before adding a smart filter?
No. In Photoyam you can add smart filters to a regular raster layer as well as to a smart object. Convert to a smart object when you also want the pixels themselves locked, or want to swap its contents later with Replace Contents.
Why does my smart filter ignore my selection?
A smart filter always covers the whole layer. To limit it to one area, add a Smart Filter Mask in the Properties panel and paint black where the filter should not show. The destructive Apply button, by contrast, does respect an active selection.
Will my smart filters survive if I export a JPG or PNG?
The look will. Exporting flattens the document, so the filtered result is written into the file. The editable filter stack only exists while you keep working on the layered document.
Why is the editor slow when I drag a smart filter slider?
Each change reruns the filter stack on the whole layer. Heavy filters on a large image take a moment per update. Temporarily turn off the other filters in the stack, or tune the heavy filter last, to keep previews quick.