Layers and Layer Masks Explained (With a Hands-On Example)
Layers and masks are the two ideas that separate a real image editor from a filter app. Once they click, you can combine photos, fix one part of an image without touching the rest, and change your mind hours later. This guide explains how they work in plain terms, then walks through blending two photos with a soft mask.
What a layer is, and why stacking order matters
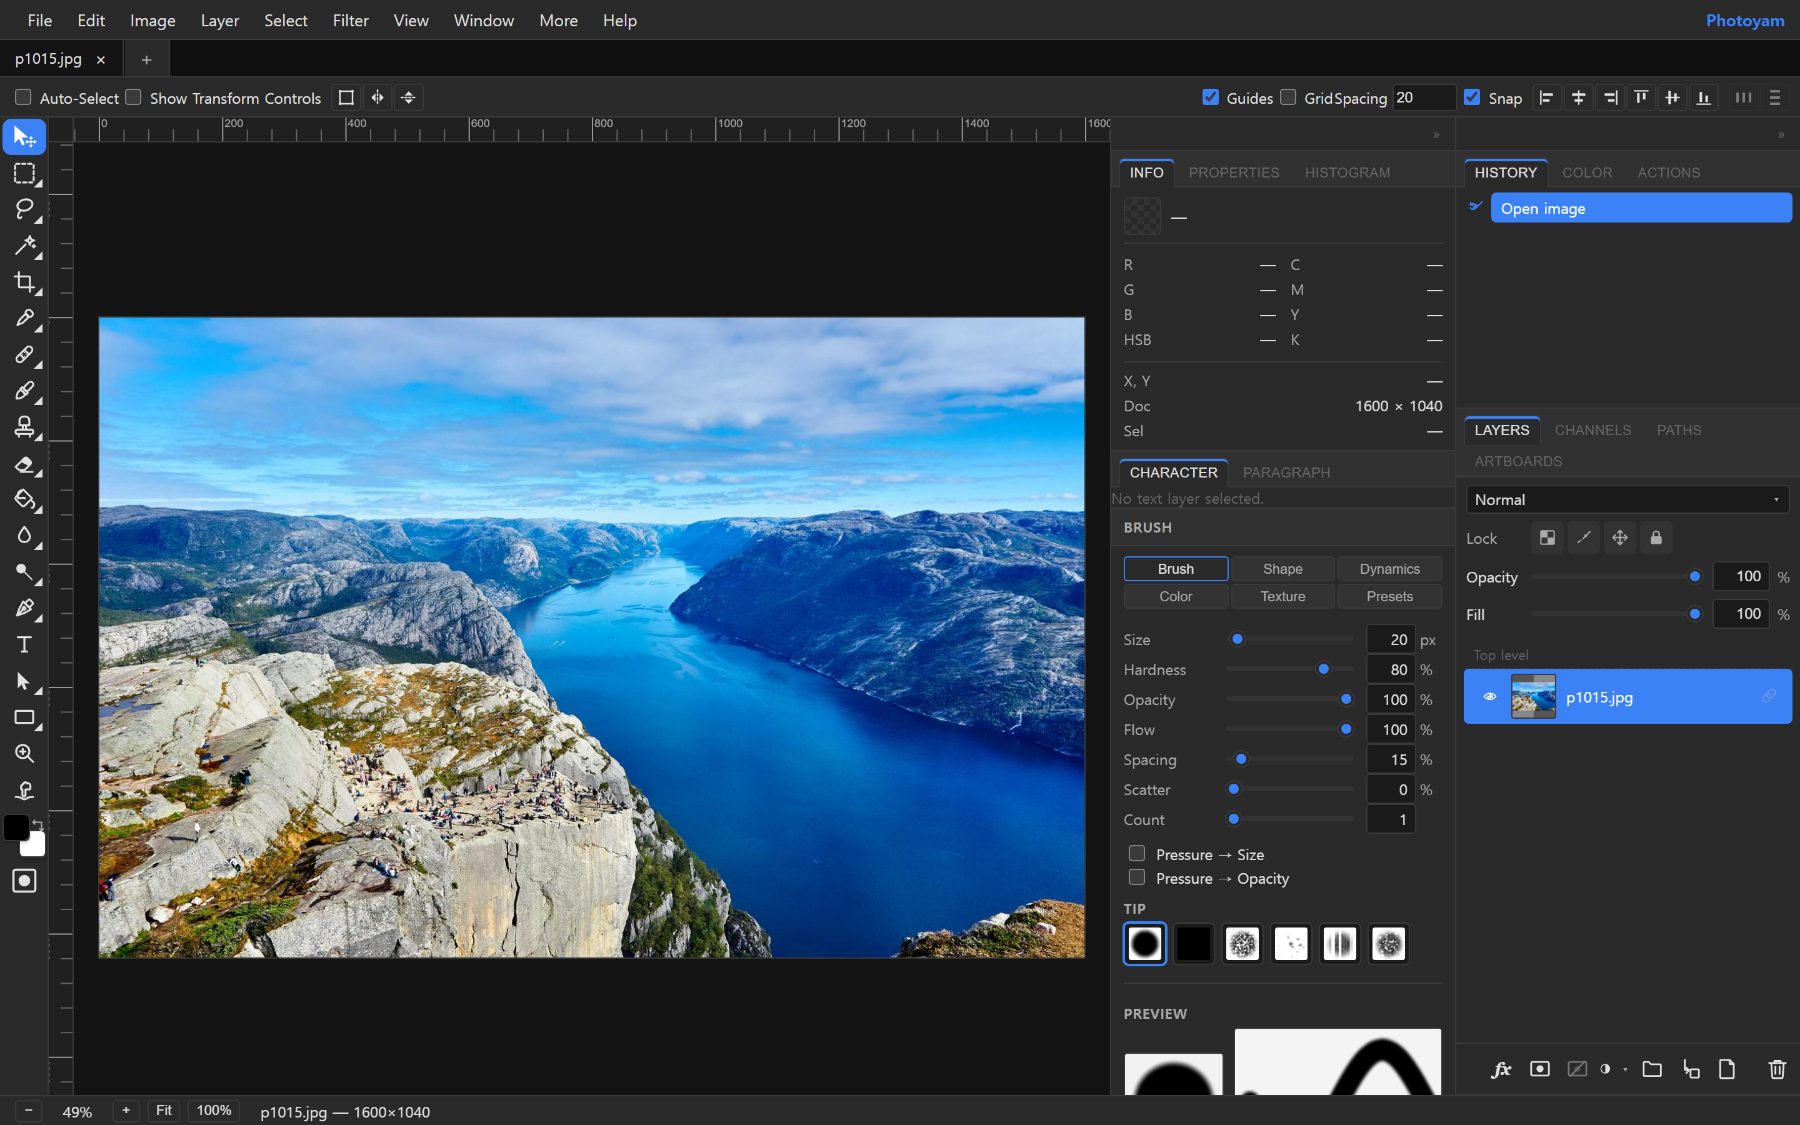
Think of a layer as a sheet of clear film with an image on it. The document is a stack of these sheets, and what you see is the stack viewed from above. Where a layer has pixels, it covers what is below; where it is transparent (the checkerboard), lower layers show through.
The Layers panel lists the stack with the top layer first. Drag a layer up or down to change what covers what. A text layer placed below a photo disappears, not because it is gone but because the photo is on top of it. The eye icon hides a layer without deleting it, which is the quickest way to compare “with” and “without”.
Separate layers keep edits reversible: a logo, a caption and a photo on three layers can each be moved or deleted later. Most edits, such as painting and filters, change only the active layer (the highlighted row), so many “it did nothing” moments come down to the wrong layer being selected.
Opacity, Fill and blend modes
Opacity fades the whole layer. At 50%, each pixel shows half its own color and half of whatever is below. Fill, just below it in the panel, fades the layer’s own pixels but not its layer effects. Set a text layer with a stroke to Fill 0% and you get hollow outlined lettering; set it to Opacity 0% and the stroke disappears too.
A blend mode changes the math used to combine a layer with the layers below. Instead of simply covering them, each pixel is mixed by a formula. Three are worth learning first:
| Mode | What it does | Typical use |
|---|---|---|
| Multiply | Multiplies colors, so the result can only get darker. White becomes invisible. | Painting shadows on a new layer; placing a scanned signature or line drawing so the white paper vanishes. |
| Screen | The inverse of Multiply: the result can only get lighter. Black becomes invisible. | Adding light: glows, sparks, fire or light leaks shot on a black background. |
| Overlay / Soft Light | Darkens darks and lightens lights. 50% gray has no effect. | Adding contrast, or a texture layer that should follow the image’s tones. Soft Light is the gentler of the two. |
A quick shadow trick: add a new layer, set it to Multiply, paint with a soft brush in a dark, slightly warm color, and lower the layer’s Opacity until the shadow sits naturally.
How layer masks work
A layer mask is a grayscale image attached to a layer that controls how visible each of its pixels is. The rule is simple: white reveals, black hides, and gray partly reveals. A mid-gray (50%) makes those pixels about half transparent. The layer’s own pixels are never changed; the mask just decides how much of them you see.
That is the core of non-destructive editing. The Eraser deletes pixels permanently. Painting black on a mask hides the same pixels, and painting white brings them back at any time, even after you save and reopen your project.
In Photoyam, the mask controls work like this:
- Add a mask: click Add layer mask at the bottom of the Layers panel. With no selection, the mask starts all white (everything visible). With an active selection, the selected area becomes white and the rest black, and soft selection edges become gray.
- Paint the mask: click the mask thumbnail (the second thumbnail on the layer row) so it is highlighted. The Brush now paints the mask with the foreground color, and the Eraser paints it with the background color.
- Turn it off for a moment: Shift+click the mask thumbnail to disable or re-enable it, handy for a before/after check.
- Turn it into a selection: Ctrl+click (Cmd+click on a Mac) the mask thumbnail to load it as a selection.
- Refine it globally: in the Properties panel, Feather (up to 250 px) softens the whole mask edge and Density weakens the black areas so hidden parts show through slightly. Invert swaps black and white; Apply bakes the mask into the pixels.
Adjustment layers: color changes you can undo later
An adjustment layer stores a correction, such as Curves, Levels, Hue/Saturation or Black & White, instead of pixels. It affects every layer below it and can be changed or deleted at any time. Add one from the Adjustment… menu at the bottom of the Layers panel, then edit its settings in the Properties panel.
Adjustment layers can have masks too: select one and click Add layer mask, so you can brighten only a face or desaturate only the background. To make an adjustment affect only the single layer directly beneath it, use Layer › Create/Release Clipping Mask. A clipped layer shows only where the layer below it has pixels.
Hands-on: blend two photos with a mask
This example fades one photo into another, such as a portrait blending into a landscape. It uses every idea above: stacking, masks and an adjustment layer.
- Open the base photo. In the editor, use File › Open… and pick the photo that should fill the frame, for example a landscape.
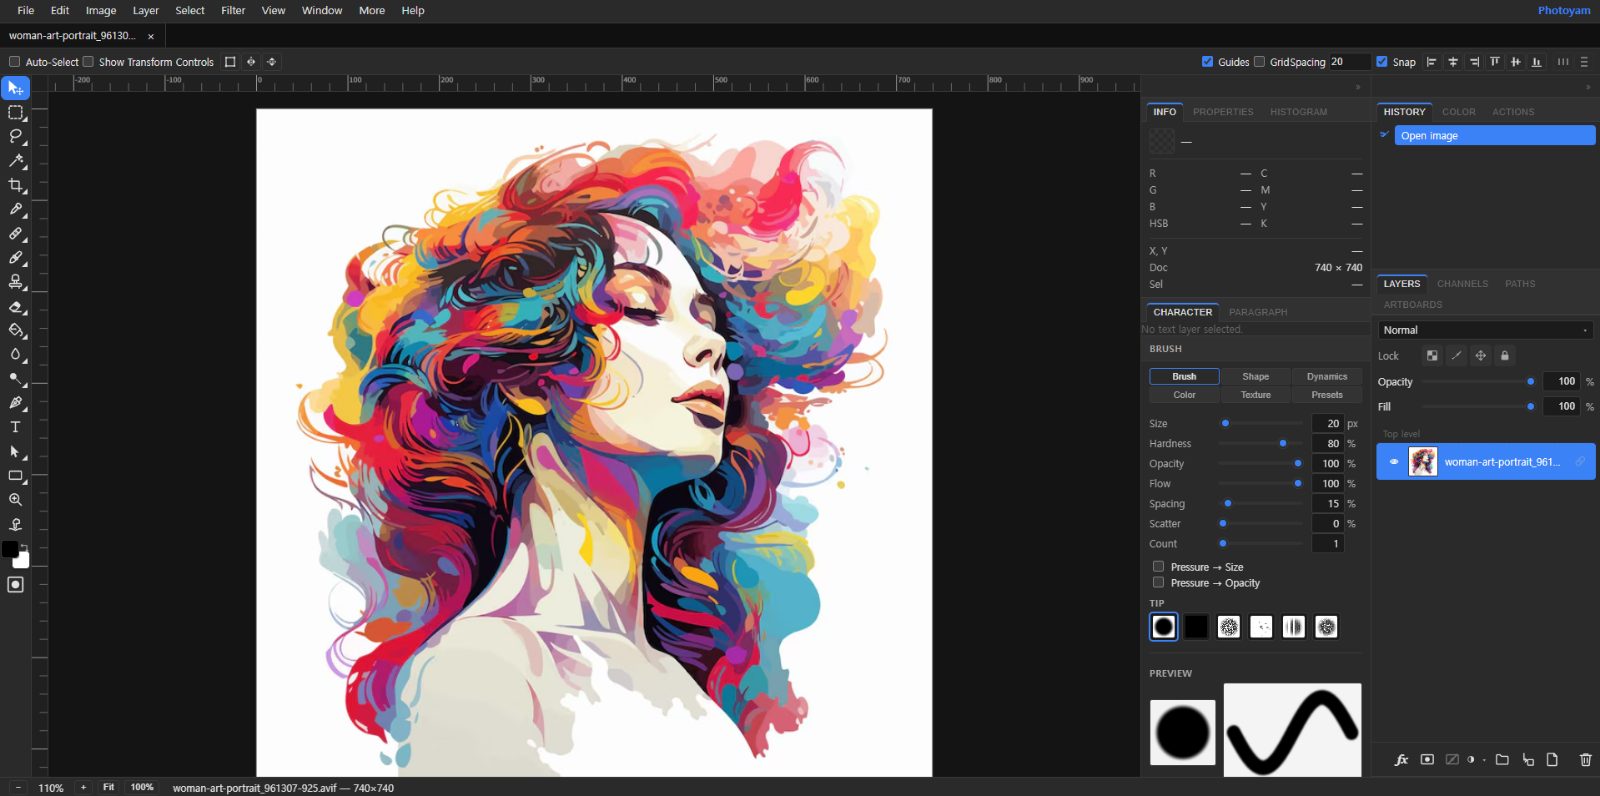
- Place the second photo. Choose File › Place… and pick the portrait. It lands centered on a new layer above the base, as a smart object, so you can scale it with Ctrl+T (Free Transform) without losing quality.
- Select the part to keep. With the top layer active, press M for the Rectangular Marquee and drag over the side of the portrait you want to keep, about two-thirds of the width.
- Add the mask. Click Add layer mask. The selected area stays visible and the rest is hidden. The seam is still a hard vertical line.
- Soften the transition. In the Properties panel, drag the mask’s Feather up. On a photo around 2,000 px wide, somewhere between 80 and 200 px gives a gentle fade. Because Feather is a setting, not a paint stroke, you can change it any time.
- Paint the details. Click the mask thumbnail, choose the Brush (B), lower Hardness to 0% and Opacity to about 30%, and paint with black where the landscape should show through more, or white where the portrait should return. Low opacity builds up gradually, so several light strokes look more natural than one strong one.
- Match the colors. Add a Hue/Saturation or Curves adjustment layer above the portrait, then use Layer › Create/Release Clipping Mask so it changes only the portrait. Nudge it until both photos share a similar warmth and brightness.
- Check and save. Shift+click the mask to compare with and without it. Save with File › Save As Project (.psy) to keep everything editable, and use File › Export As for a JPG or PNG to share.
Troubleshooting
The brush is painting color onto my photo
The layer’s pixels are the target, not its mask. Undo (Ctrl+Z), click the mask thumbnail so it is highlighted, and paint again. A mask only understands gray values, so if you picked a color, it is used as its brightness.
The mask edge has a visible halo
The edge is too soft for the subject. Lower the mask Feather, then paint the edge with a smaller, harder brush.
Nothing changes when I paint black
Check that the mask is enabled (a disabled mask is dimmed and crossed by a red line), that the layer is visible and above 0% opacity, and that you are on the right layer.
Common mistakes
- Using the Eraser instead of a mask. It works until you need the pixels back. Masks cost nothing and keep every option open.
- Hard brushes on masks. A 100% hardness brush leaves a visible line. Start soft and low-opacity, and harden only for crisp objects.
- Forgetting to clip adjustments. An unclipped Curves layer changes every layer below it, not just the one you meant.
- Merging too early. Merge Down and Flatten Image throw away the separation that makes later fixes easy. Keep a layered .psy first.
Try it in Photoyam
Layers, blend modes, masks and adjustment layers in a free editor that runs in your browser. No sign-up, and your photos never leave your device.
FAQ
What is the difference between a layer mask and the Eraser?
The Eraser deletes pixels, so getting them back means undoing. A mask only hides them: paint white on the mask later and the original pixels return, even after you have saved and reopened a project.
My brush paints on the photo instead of the mask. Why?
The layer's image, not its mask, is the paint target. Click the mask thumbnail in the Layers panel so it is highlighted, then paint. Clicking the layer's image thumbnail switches back to painting pixels.
Can I use the Gradient tool on a mask?
Not in Photoyam: the Brush and Eraser paint on masks, but the Gradient tool always paints layer pixels. For a smooth gradient-style transition, add the mask from a selection and raise the mask's Feather in the Properties panel, or paint with a large, soft, low-opacity brush.
Do masks survive if I save as PSD?
Yes. Raster layer masks are written to the PSD as editable masks, including whether they are disabled. A Photoyam project (.psy) keeps them too, along with mask Feather and Density settings.