Levels and Curves Explained: Fix Exposure and Contrast Like a Pro
Levels and Curves are the two tools professionals reach for first when a photo looks flat, dark or tinted. Both do the same basic thing, remapping input brightness to output brightness, but at different levels of control. This guide explains how to read the histogram they are built on, what each control does to the pixels, and how to use both on adjustment layers so every change stays reversible.
Reading the histogram
A histogram is a bar chart of brightness. The horizontal axis runs from pure black (0) on the left to pure white (255) on the right; the height at each point shows how many pixels have that value. It says nothing about where those pixels are, only how many there are of each tone.
- A gap at either end means the photo never reaches true black or true white. It will look flat or hazy. This is the most common and easiest thing to fix.
- A spike jammed against an edge means clipping: many pixels are stuck at pure black or pure white, and any detail they once held is gone. Editing cannot bring it back.
- Most of the data on the left means a dark (low-key) image, most on the right a bright (high-key) one. Neither is wrong by itself. A snowy landscape should lean right; a candle-lit room should lean left.
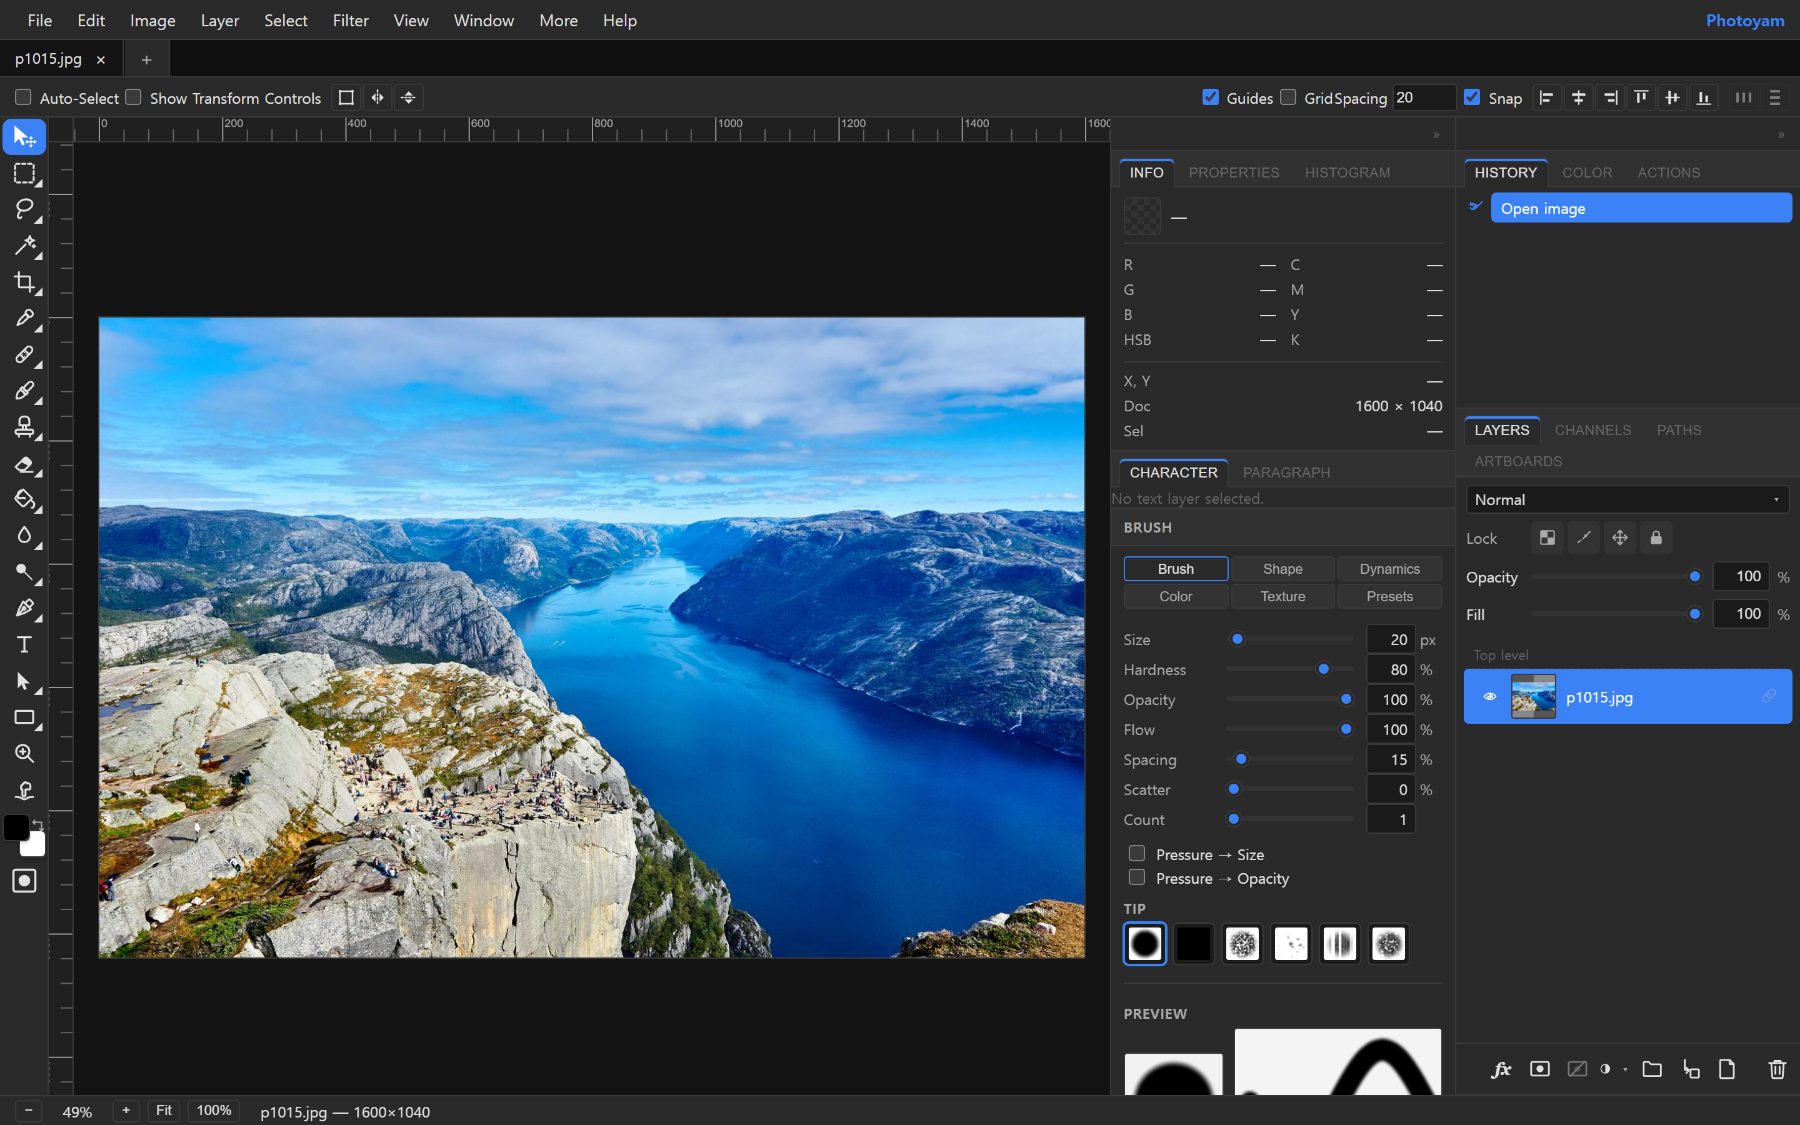
In Photoyam you can keep a live histogram open in the Histogram tab of the panel dock, and both the Levels and Curves dialogs draw the histogram of the image below the adjustment directly behind their controls.
What Levels and Curves actually do
Both tools are a lookup table: for each of the 256 possible input values, they define an output value. Every pixel is looked up and replaced. Nothing is added or detected; the same input brightness always becomes the same output brightness, wherever it sits in the frame.
Levels describes that table with five numbers. Input Black and Input White choose which input values become pure black and pure white; everything between is stretched to fill the gap. Gamma bends the middle of the range: values above 1 brighten the midtones, values below 1 darken them, and the end points do not move. Output Black and Output White compress the result back into a narrower range, for example to soften blacks for a matte look.
Curves draws the table as a line on a graph, input along the bottom and output up the side. A straight diagonal changes nothing. Raise a point and those tones get brighter; lower it and they get darker. Where the line is steeper than the diagonal, contrast increases in that tonal range; where it is flatter, contrast decreases. That one rule explains almost everything Curves can do.
Levels step by step
- Create a Levels adjustment layer. Choose Image › Adjustments › Levels. In Photoyam this adds a Levels adjustment layer above the active layer and opens the Levels dialog; it does not change the original pixels. You can also add one from the adjustment menu (half-circle icon) at the bottom of the Layers panel.
- Set the black point. Drag the left triangle under the histogram (or the Input Black slider) right until it meets the first real data on the left. Shadows get deeper and the image gains punch.
- Set the white point. Drag the right triangle (Input White) left to where the data starts on the right. Stop at the edge of the data; going further clips highlights.
- Adjust the midtones. Drag the middle triangle, or the Gamma slider, until the overall brightness looks right. This is how you brighten a dark photo without blowing out the sky.
- Try Auto as a reference. Auto stretches the current channel between its darkest and brightest values, ignoring the most extreme 0.1% of pixels. It is a good starting point; compare it with your manual setting and keep whichever looks more natural.
- Click Done. The dialog closes and the adjustment layer stays editable.
Fixing color casts per channel
A color photo is three grayscale images, red, green and blue, stacked together. A color cast means the channels are out of balance: in a blue-tinted shade photo the blue channel is brighter than it should be, especially in the highlights.
Change the Channel menu from RGB to Red, Green or Blue and the histogram and sliders apply to that channel only. Set the black and white points of each channel to the edges of its own data, and each channel then spans the full range, which often neutralizes a cast by itself. To warm a cold image by hand, choose Blue and pull Gamma below 1 (less blue in the midtones means more yellow), or choose Red and raise it.
The fastest method when the photo contains something that should be neutral, such as a gray sidewalk, white paper or a white shirt in shade, is the Set gray point eyedropper in the Curves dialog: click that object and each channel’s curve is bent so the red, green and blue values of that spot become equal, which makes it neutral gray. (The Levels gray eyedropper only adjusts overall brightness, so use Curves for this job.) If the result looks wrong, you probably clicked something that was not truly neutral; click a different spot.
Curves and the S-curve
Choose Image › Adjustments › Curves to add a Curves adjustment layer and open its dialog. Click the line to add a point, drag a point to move it, and double-click a point to remove it. The Input and Output readout shows exactly where the point sits.
The classic S-curve
Add a point about a quarter of the way up the line (the shadows) and pull it slightly down; add another about three quarters up (the highlights) and pull it slightly up. The curve becomes a gentle S. It is steeper in the middle, so midtone contrast rises, and flatter at the ends, so shadows and highlights are compressed rather than clipped. This is why an S-curve looks richer than simply dragging a contrast slider. The Increase Contrast preset in the Preset menu is a ready-made mild S-curve to start from.
Other useful shapes
- Brighten midtones only: one point in the middle, pulled up. This is the Curves equivalent of Levels gamma, and the Lighten preset.
- Matte, faded blacks: drag the bottom-left endpoint straight up. The darkest tone becomes dark gray.
- Protect highlights: add points in the upper part of the line and keep them on the diagonal before brightening lower tones, so the sky does not move.
The dialog also offers Smooth (a spline through the points) and Corner (straight segments) interpolation, per-channel curves in the Channel menu, and an Auto button whose options include Enhance Monochromatic Contrast, Enhance Per Channel Contrast, Find Dark & Light Colors and Enhance Brightness And Contrast, with adjustable shadow and highlight clip percentages.
Why adjustment layers matter
Because both commands create adjustment layers, the lookup is applied live when the image is drawn, and the pixels underneath never change. That gives you several practical advantages:
- Re-edit any time. Select the layer and click the Levels… or Curves… button in the Properties panel to reopen the dialog.
- Dial it back. Lower the adjustment layer’s opacity to reduce the effect evenly.
- Apply it locally. Add a layer mask with the Add layer mask button and paint black where the adjustment should not apply, for example to brighten a face without brightening the background.
- Compare before and after. Click the eye icon next to the layer in the Layers panel to toggle the adjustment off and on. It is the most honest way to check whether a correction actually helped.
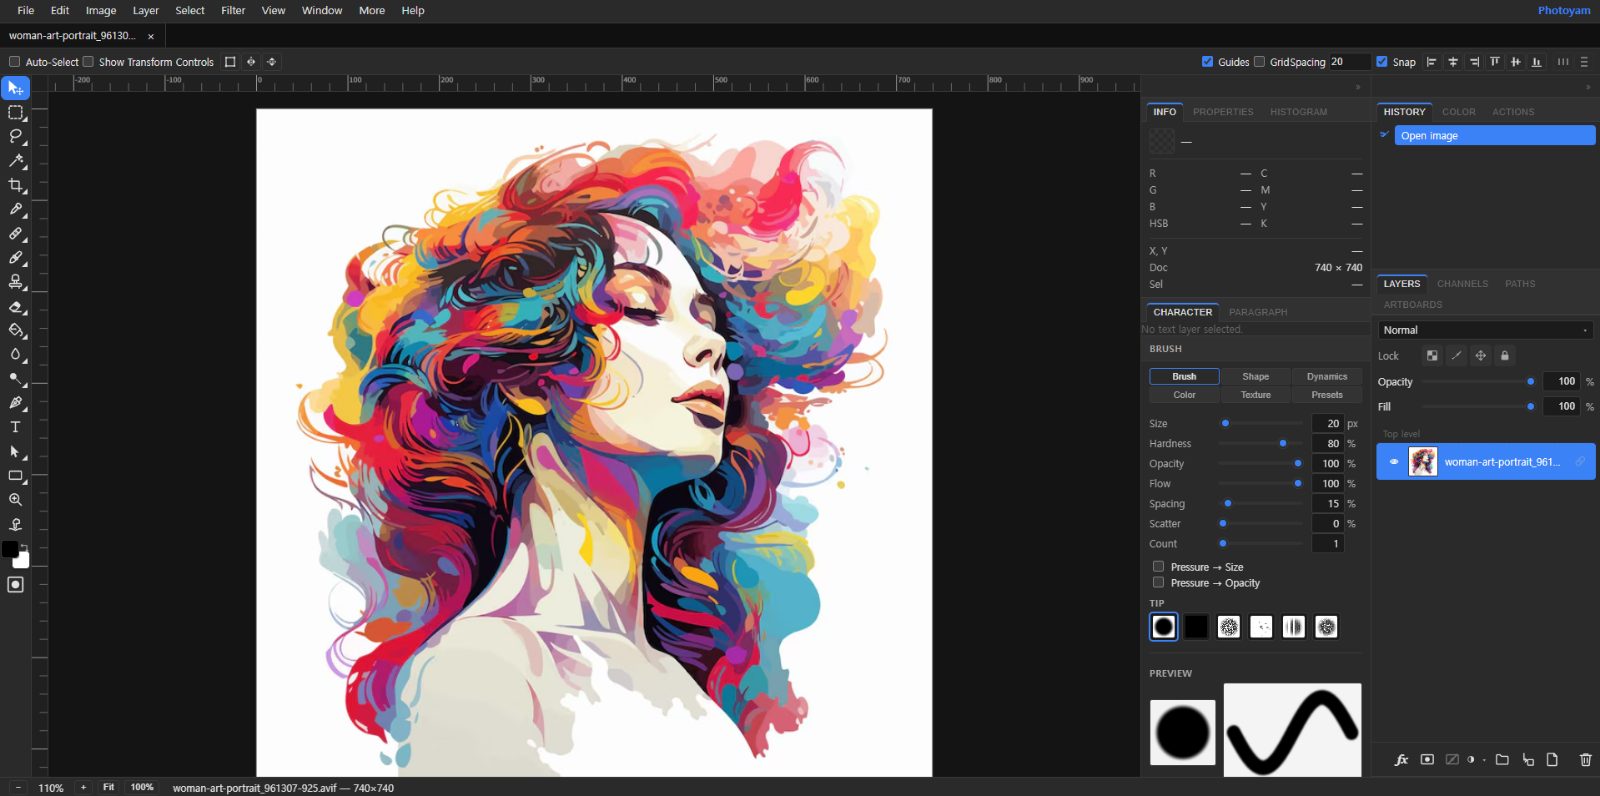
An adjustment layer affects every visible layer below it. Stack them in a sensible order, usually tone first and color second.
Common mistakes
- Clipping to gain contrast. Dragging the black and white points past the edge of the data throws detail away. Stop at the edge.
- Extreme curve points. A curve that goes flat or turns back on itself produces posterized bands and odd colors. Keep curves gentle.
- Trusting Auto blindly. Auto assumes the photo should span the full range. A sunset or a misty morning often should not.
- Gray point on a colored object. Clicking beige skin or a cream wall with the gray eyedropper creates a cast instead of removing one.
- Judging on an uncalibrated or very dim screen. Check the histogram, not only your eyes.
Try it in Photoyam
Open a photo, add a Levels or Curves adjustment layer, and fix exposure and contrast without touching the original pixels. Free, no sign-up, and your photos never leave your device.
FAQ
Should I use Levels or Curves?
Use Levels for the quick, common fixes: setting black and white points and brightening or darkening midtones. Use Curves when you need control over a specific tonal range, such as adding contrast only in the midtones or protecting highlights. Anything Levels does, Curves can also do.
Is there a perfect histogram shape?
No. A snow scene should lean right and a night scene should lean left. What matters is whether the photo uses the tonal range it needs, and whether important detail is clipped against either edge.
Why did my colors shift when I added contrast?
A steeper curve on the composite RGB channel also increases saturation, because it pushes the red, green and blue values of each pixel further apart. Lower the adjustment layer's opacity or reduce the curve's steepness if skin or skies become too intense.
Can I change a Levels or Curves adjustment later?
Yes. In Photoyam both are created as adjustment layers. Select the layer and click the Levels or Curves button in the Properties panel to reopen the dialog, or hide or delete the layer to remove the effect entirely.