Image Sizes for Social Media: A Practical Guide to Resizing
Every platform shows your images in fixed shapes and sizes, and anything that does not fit gets cropped, scaled or compressed for you. This guide explains the two numbers that actually matter, lists the common sizes worth knowing, and walks through a crop-then-resize workflow that gives you exact dimensions every time.
Aspect ratio vs pixel dimensions
The aspect ratio is the shape: width divided by height. A square is 1:1, a widescreen video frame is 16:9, and Instagram’s tall feed format is 4:5. Two images with the same ratio have the same shape no matter how many pixels they contain, so a 1080×1350 image and a 2160×2700 image are both 4:5.
The pixel dimensions are the resolution: how much detail the shape holds. They decide how sharp the image looks when it is shown at a given size on screen.
The distinction matters because the two problems have different fixes. A wrong shape can only be fixed by cropping (removing part of the picture) or by adding space around it. A wrong resolution is fixed by resizing, which scales the whole picture without changing what is in it. Trying to fix a shape problem with the resize controls is how people end up with stretched faces.
A quick way to check a ratio is to divide width by height. 1080 ÷ 1350 = 0.8, which is 4 ÷ 5. The Open Graph link-preview size of 1200×630 works out to about 1.9, so it is often written as 1.91:1.
Why platforms crop and recompress your images
Social networks serve billions of images, so they normalize everything you upload. In practice, three things happen to your file:
- It is fitted to a layout. If the shape does not match an allowed ratio, the platform crops it or adds bars. Feeds, profile grids and link previews can each crop the same image differently.
- It is resized. Anything wider than the platform’s display size is scaled down, and anything much smaller may be scaled up. You do not control the resampling method used.
- It is re-encoded. The platform saves a new compressed copy, typically as JPG or a similar lossy format. If your upload was already heavily compressed, the second round of compression stacks new artifacts on top of the old ones.
You cannot stop the re-encode, but you can make it gentle: upload at the right ratio and at (or very close to) the display size, and start from a high-quality file. Then the platform has little to change, and what it does change is predictable.
Common sizes at a glance
These are widely used, long-standing recommendations. Treat them as good starting points rather than fixed laws.
| Use | Pixels | Ratio |
|---|---|---|
| Instagram square post | 1080 × 1080 | 1:1 |
| Instagram portrait post | 1080 × 1350 | 4:5 |
| Instagram Story or Reel | 1080 × 1920 | 9:16 |
| YouTube thumbnail | 1280 × 720 | 16:9 |
| Link preview (Open Graph), used by Facebook, LinkedIn and others | 1200 × 630 | 1.91:1 |
| X (Twitter) in-stream image | 1600 × 900 | 16:9 |
Safe zones: where not to put important content
Even at the exact recommended size, part of your image may be covered or cropped in some views. The area that is reliably visible everywhere is called the safe zone.
- Stories and Reels. The profile name sits at the top and the reply bar or caption at the bottom. A common rule of thumb is to keep text and faces out of roughly the top and bottom 250 pixels of a 1920-pixel-tall frame.
- Profile grids. A grid often shows a tighter thumbnail than the post itself, trimmed at the edges. Keep the subject near the center if the grid view matters to you.
- YouTube thumbnails. The video length is overlaid in the bottom-right corner, so do not put text there.
- Link previews. Some apps show the 1.91:1 image as a square or a smaller crop. Center the key element and avoid text running to the edges.
A practical habit: imagine a margin of about 10% on every side and check that nothing essential touches it.
Resizing vs cropping: which one you need
Ask one question: is the shape already right? If your photo is 4:3 and the target is 4:3, you only need to resize. If the target is a different ratio, crop first to the new shape, then resize the result to the exact pixel size.
The order matters. Cropping first lets you choose what to keep (the subject, the horizon line, the text) instead of letting the platform choose for you. Resizing last means the final pixel count lands exactly on the target. When the numbers do not divide cleanly, the reverse order works too, as the example further down shows.
The limits of upscaling
Downscaling is safe: the resize discards detail you did not need anyway, and a good resampling method keeps edges smooth. Upscaling cannot add detail that was never captured. The software can only estimate new pixels from their neighbors, so edges go soft and fine texture turns to mush.
Small enlargements (say, 900 pixels up to 1080) are usually fine for social media, because the image will be viewed small on a phone. Large enlargements, like a 400-pixel crop blown up to 1080, look visibly soft. The better fix is almost always to go back to the original, uncropped file, which usually has far more pixels than the copy you downloaded from a chat app or a website.
Step by step: crop and resize in Photoyam
The example below turns a 4000×3000 landscape photo (4:3) into a 1080×1350 Instagram portrait post (4:5).
- Work out the crop. A 4:5 frame from a 3000-pixel-tall photo is 3000 × 0.8 = 2400 pixels wide. Keep the full height and trim the width to 2400.
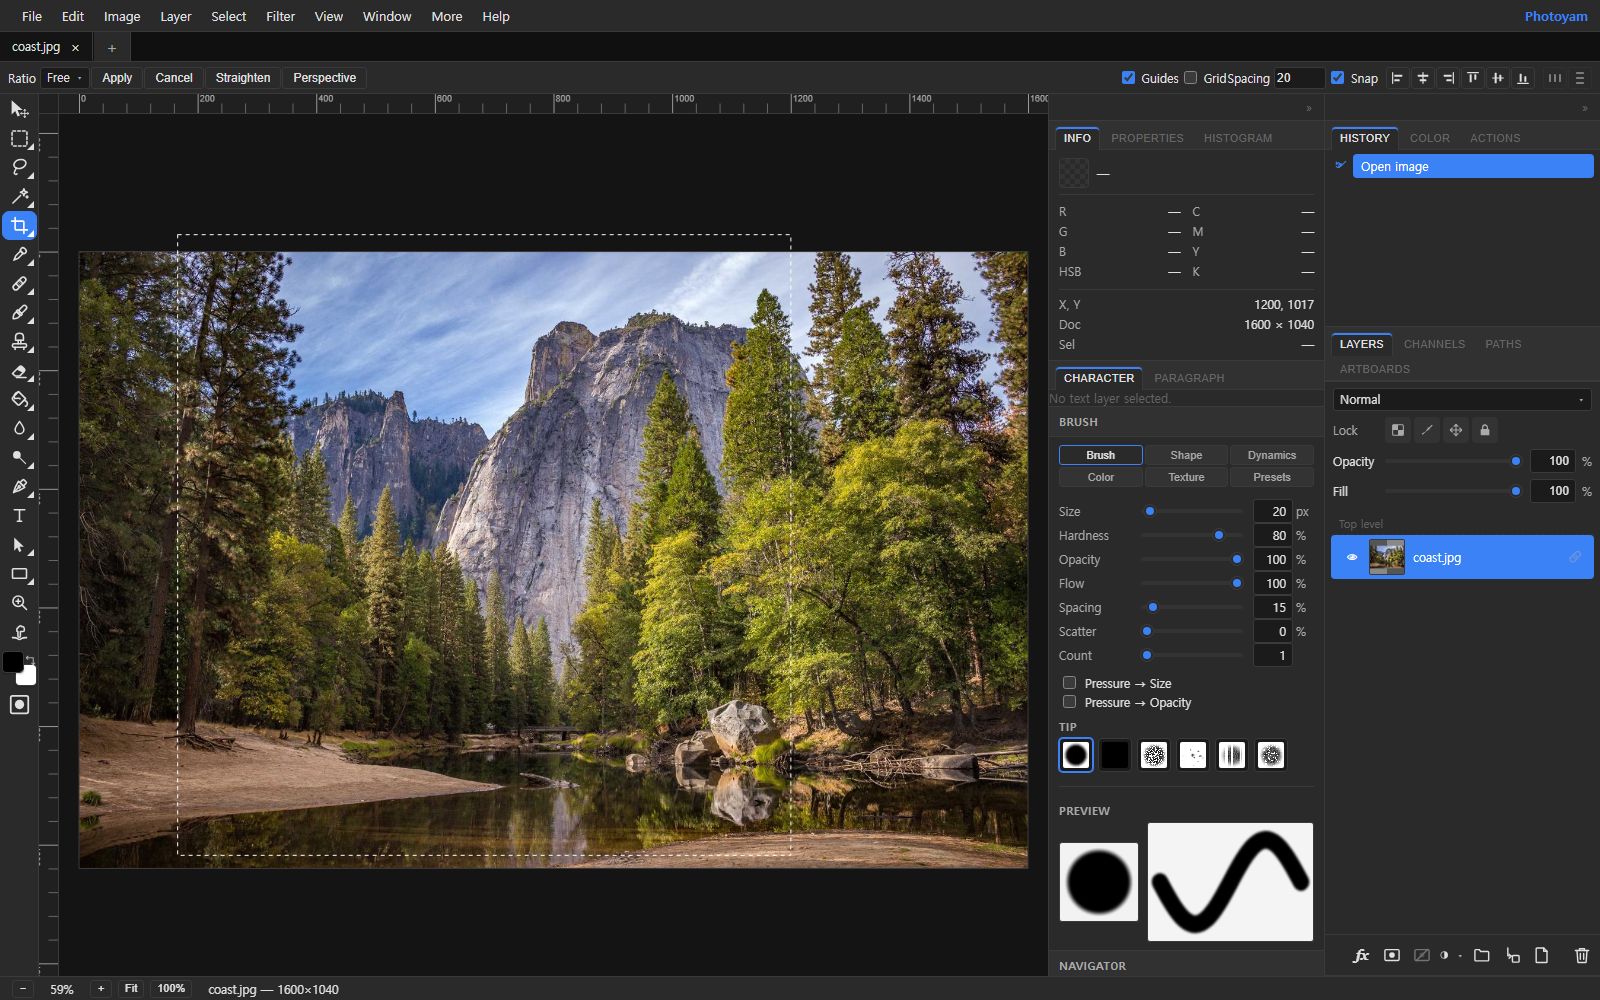
- Crop to the new shape. Open the photo in the Photoyam editor and choose Image › Canvas Size…. Set Width to 2400, leave Height at 3000, and pick an Anchor: the center square trims both sides equally, while Left or Right keeps that edge and trims the other. Click OK. For shapes that match a preset (1:1, 4:3, 3:2 or 16:9), you can instead use the Crop tool: choose the Ratio in the options bar, drag a box over the part you want, and click Apply or press Enter.
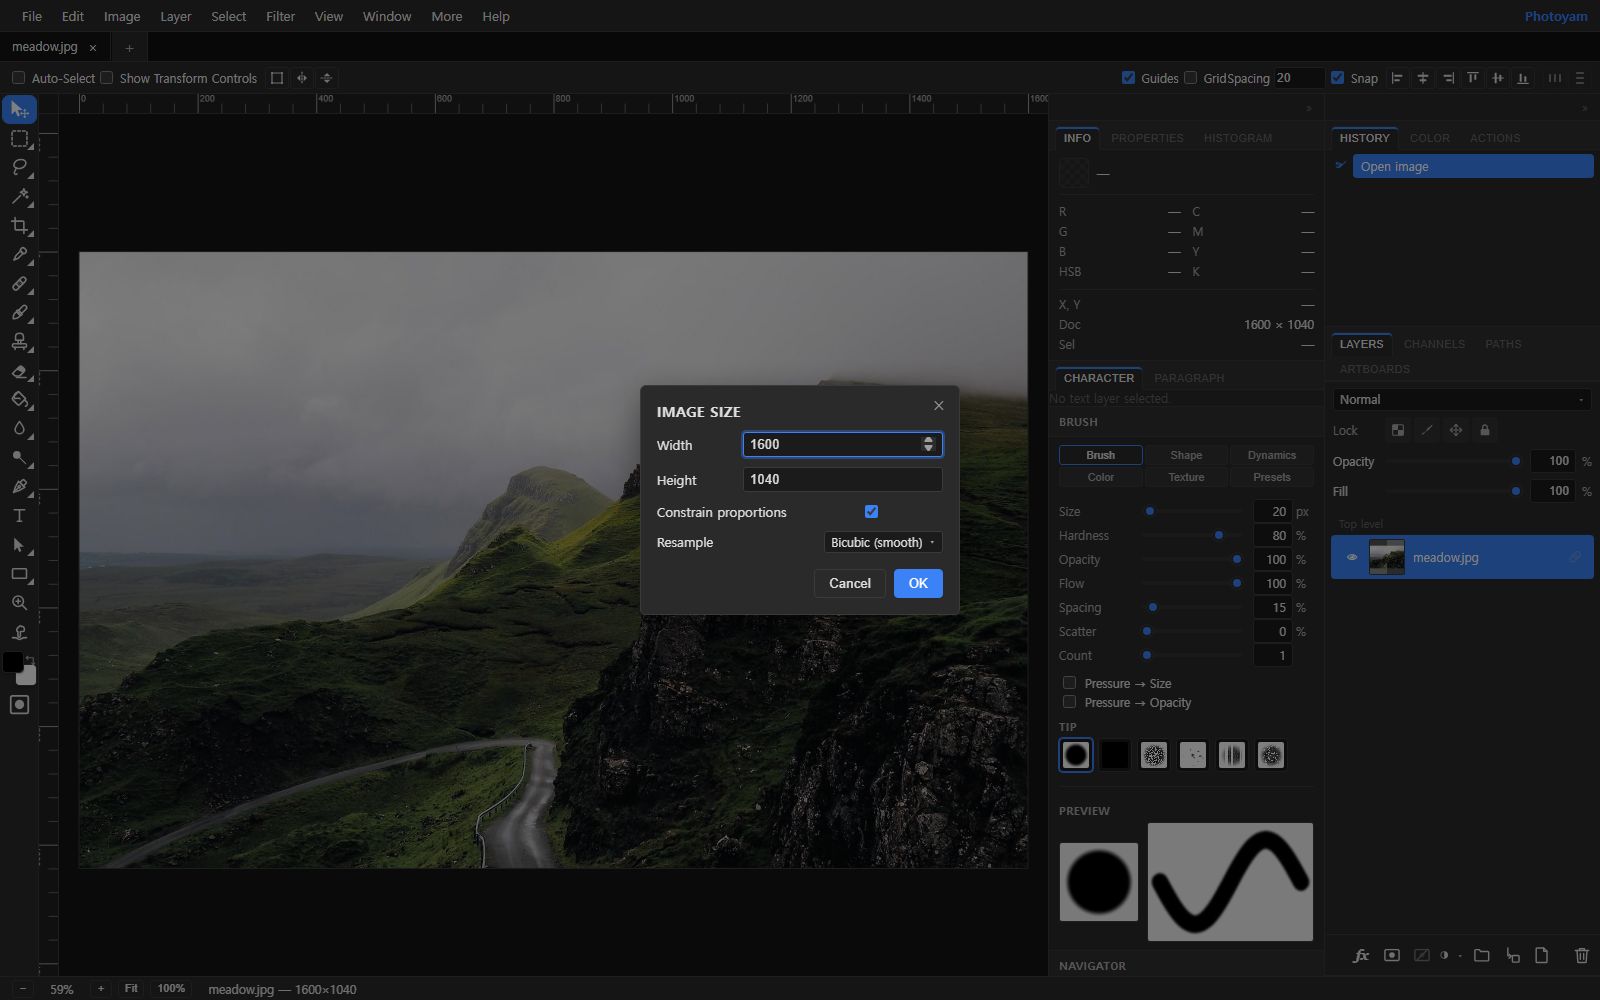
- Open Image Size. Choose Image › Image Size…, or start from the Resize tool, which opens the same dialog as soon as your image loads.
- Set the width with proportions locked. Leave Constrain proportions checked and type 1080 in Width. Height follows automatically and reads 1350, because the image is now exactly 4:5.
- Choose the resample method. Bicubic (smooth), the default, is right for photos: it calculates each new pixel from a 4×4 neighborhood. Bilinear uses a 2×2 neighborhood and is slightly softer. Nearest Neighbor (hard edges) copies the closest pixel without blending; use it only for pixel art or screenshots you are enlarging by whole multiples. Click OK.
- Export. In the Resize tool, click Download; in the editor, use File › Export As or File › Save for Web…. Pick JPEG and keep Quality around 85–90 (the default is 90). The dialog shows the Estimated size as you change settings.
A few more ratios worked out from the same 4000×3000 photo. For a 1.91:1 link preview, keep the width and set the canvas height to 2100, then resize to 1200 wide (height becomes 630). For 16:9, the Crop tool preset does the job directly. A 9:16 Story does not divide evenly (3000 × 9 ÷ 16 = 1687.5), so reverse the order: resize first with Height set to 1920 (Width becomes 2560), then use Canvas Size to trim the width to 1080. Resizing so the image just covers the target and then trimming the overflow is a reliable way to hit any exact size.
Common mistakes
- Unchecking Constrain proportions to “make it fit.” Typing 1080 × 1350 into a 4:3 photo squashes it horizontally. Change the shape with a crop, never with the resize fields.
- Starting from a compressed copy. A photo saved from a messaging app has already been shrunk and recompressed. Use the original file whenever you can.
- Adding a sharpening pass before upload, then letting the platform downscale. The sharpening halos get resized unevenly. Resize to the final size first, then sharpen lightly if needed.
- Worrying about DPI. Screens use pixels only. A 72 DPI and a 300 DPI file with the same pixel dimensions look identical online.
- Putting text at the edges. It is the first thing a grid thumbnail, a Story overlay or a preview card cuts off.
Try it in Photoyam
Resize an image to exact pixel dimensions with proportions locked, then download it as JPG, PNG or WebP. Free, no sign-up, and the image never leaves your device.
FAQ
Should I upload a bigger image than the recommended size?
Usually there is no benefit. The platform scales anything larger down to its own display size and re-encodes it, and you lose control over how that is done. Uploading at the recommended size, in the right aspect ratio, gives the most predictable result.
Does DPI matter for social media images?
No. Screens only care about pixel dimensions. A 1080 by 1080 image looks identical whether its file says 72 or 300 DPI. DPI only matters when you print.
Why does my image look blurry after I post it?
The most common causes are uploading an image smaller than the display size, so the platform enlarges it, or uploading an already heavily compressed JPG that the platform then compresses again. Start from a larger original, resize down to the target, and export at a high quality setting.
Can I change the aspect ratio in the Image Size dialog?
You can, by unchecking Constrain proportions, but that stretches or squashes the picture. To change the shape without distortion, crop first (with the Crop tool or Image, Canvas Size) and then resize.