How to Make a Passport or ID Photo at Home
A passport or ID photo is a measurement exercise more than a creative one: exact proportions, a set head size, plain lighting and a plain background. This guide shows how to shoot one at home, crop and size it precisely in Photoyam, and lay out prints, and it is honest about where the official rules, not the editor, have the last word.
Start with the official rules
Every country, and often every document type, has its own specification, and agencies revise them. Before you pick up a camera, open the current photo requirements from the agency that will receive the photo and keep them next to you while you edit. A third-party summary, including this one, can be out of date.
As a worked example, this guide uses the widely published US passport requirements. At the time of writing, the US Department of State asks for a photo that is:
- 2 × 2 inches (51 × 51 mm) when printed, with the head measuring 1 to 1⅜ inches (25 to 35 mm) from the bottom of the chin to the top of the head;
- for digital submission, a square image of at least 600 × 600 pixels, which is the same 2 inches at 300 pixels per inch;
- in color, taken within the last six months, against a plain white or off-white background;
- with a neutral expression or a natural smile, both eyes open, facing the camera, and no glasses;
- not digitally altered or filtered.
Check travel.state.gov for the current version before you submit. Many other countries use a 35 × 45 mm portrait format instead of a square, with their own head-size and background rules; the steps below cover both shapes.
Taking the photo
- Background. Stand about half a meter to a meter in front of a plain white or off-white wall. The gap lets your own shadow fall on the floor instead of the wall behind your head.
- Light. Face a window with soft daylight so both sides of your face are evenly lit. Avoid overhead lights alone: they put shadows under the eyes and nose. Harsh sun gives squinting and hard shadows.
- Camera. Have someone else take it from about 1.2 to 1.5 meters away, with the lens at eye level. Selfies at arm’s length distort facial proportions and are a common reason for rejection. Use the main camera, not the front camera, and turn off portrait or beauty modes.
- Framing. Include your head, shoulders and some space above your head. You will crop in the editor, so extra room is good; a tight shot cannot be fixed.
- Take several. Pick the one with open eyes, a straight head and no hair covering the face.
How size, pixels and ppi relate
A digital image has only pixels; it has no physical size until it is printed. The link between the two is pixels per inch (ppi): inches × ppi = pixels. Photo printing is commonly done at 300 ppi, so a 2-inch photo needs 600 pixels per side, and a 35 × 45 mm photo (about 1.38 × 1.77 in) needs about 413 × 531 pixels. More pixels is fine for printing; fewer will look soft.
Photoyam’s Image Size and Canvas Size dialogs work in pixels, which is exactly what digital submission forms ask for. For prints, you control the physical size by printing at a known size, as described in the print section.
Step by step in Photoyam
- Open the photo. Go to the Crop tool page and choose your photo; it opens in the editor with the Crop tool selected. The photo stays on your device.
- Straighten the head if needed. If your head is tilted, click Straighten in the options bar and drag a line between the centers of your eyes. The editor rotates the image so that line is level.
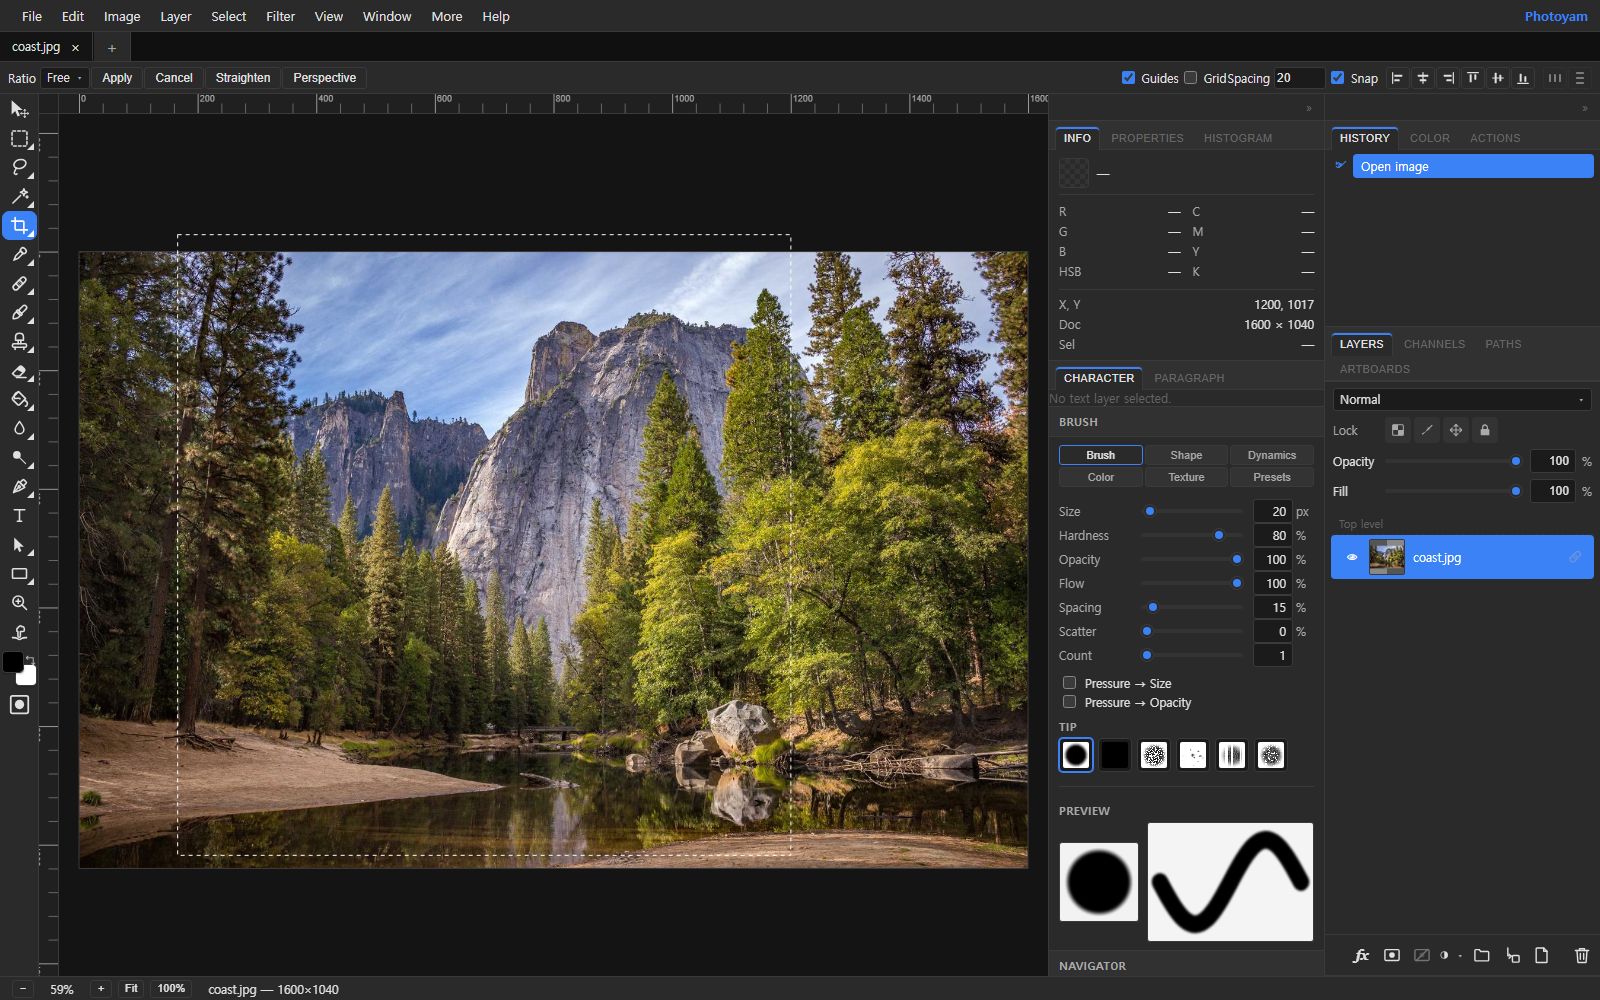
- Crop to the exact ratio. For a square format like the US passport, set Ratio to 1:1. Drag the box so your face is centered horizontally and the head fills the required share of the height: for the US, 1 to 1⅜ inches of a 2-inch frame is 50 to 69%. Click Apply.
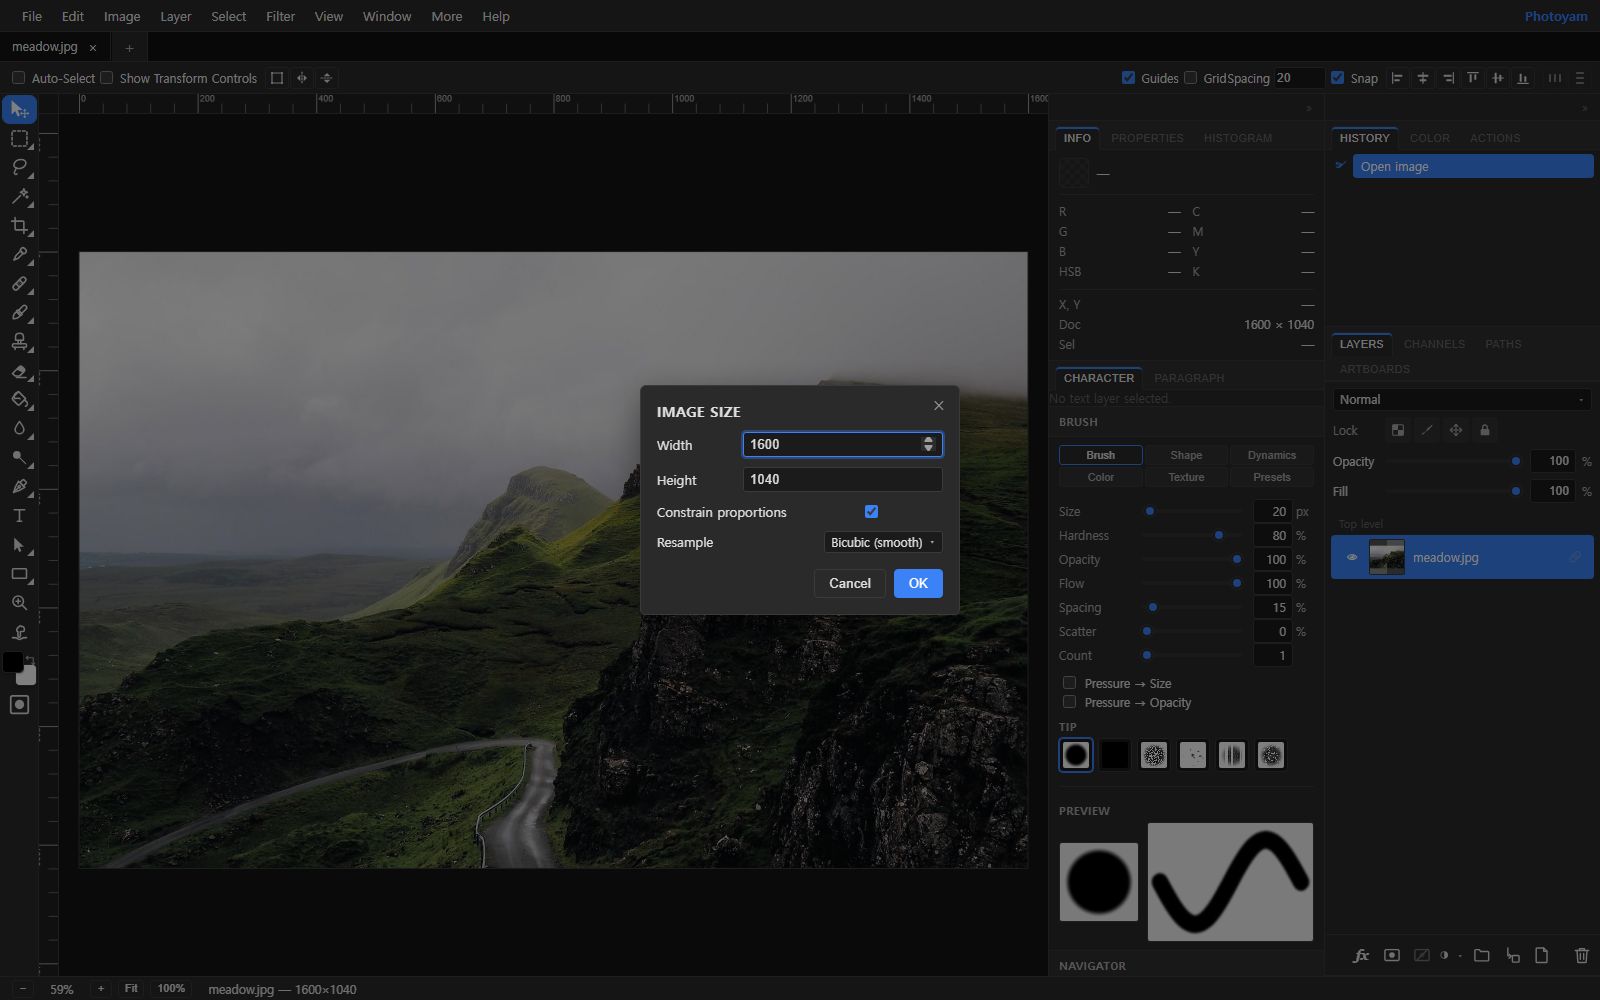
- Resize to the required pixels. Open Image › Image Size…, keep Constrain proportions on, and type 600 (or the size your form requires) in Width. Height follows. Leave Resample on Bicubic (smooth), which is best for photos.
- Check the head size. With the Info panel open, hover over the top of your head and then your chin and compare the Y values. On a 600-pixel US photo the difference should be between 300 and 413 pixels. If it is not, undo and crop again.
- Export. Use File › Export As › JPG at high quality, since most forms ask for JPEG. Check the estimated size against any file-size limit in the rules.
Non-square formats such as 35 × 45 mm
The Crop tool’s ratio presets are Free, 1:1, 4:3, 3:2 and 16:9, so there is no 7:9 preset for 35 × 45 mm. You can still hit the exact size in two moves. First crop loosely with Free, leaving a little extra height. Then use Image › Image Size… to set the width to the target (for example 413 pixels) with proportions constrained. Finally open Image › Canvas Size…, type the target height (531), and choose an anchor that trims from the side with more spare room. Canvas Size shrinks the frame without scaling, so the result is exactly the pixel size you typed.
The background question
It is tempting to shoot anywhere and swap the background for white afterward. Be careful: many agencies, including the US Department of State, reject photos that have been digitally altered, and an edited edge around hair is easy to spot. A plain wall with even light gives you a compliant background with no editing at all.
If your wall is off-white with a shadow, and the rules you are following allow background cleanup, the Remove Background tool can place you on pure white: run the cut-out, repair the edge with Restore, keep Tightness low so hair is not trimmed, choose White, and download. The tool processes up to 1,600 pixels on the longest side, which is well above what ID formats need. Do this before the crop and resize steps, and compare the result with the original: the outline of your head and hair must look unchanged.
Printing several on one sheet
A 6 × 4 inch print is cheap at any photo counter, and at 300 ppi it is 1,800 × 1,200 pixels, which holds six 600-pixel squares exactly.
- Enlarge the canvas. With your finished 600 × 600 photo open, choose Image › Canvas Size…, enter 1800 × 1200, and set the anchor to the top-left. The new area is transparent.
- Add white behind it. Set the foreground color to white, choose Layer › New Fill Layer › Solid Color (it fills with the foreground color), and drag it to the bottom of the Layers panel.
- Add guides. Use View › New Guide… to place vertical guides at 600 and 1,200 pixels and a horizontal guide at 600, and keep Snap on.
- Duplicate and place. Select the photo layer, choose Layer › Duplicate Layer, and drag the copy with the Move tool until it snaps into the next cell. Repeat for as many copies as you need.
- Export and print at exact size. Export a high-quality JPG and order a 6 × 4 print. Choose any “no crop” or “fit” option the lab offers so the sheet is not trimmed, then measure one photo with a ruler before cutting.
Six photos edge to edge leave no margin for cutting; if your printer or lab trims the border, place four copies with gaps instead.
Common rejection reasons
- Head too large or too small in the frame. Measure it.
- Shadows on the face or on the wall behind the head.
- Glasses, hats or filters, where the rules forbid them.
- Selfie distortion from a close, wide front camera.
- Visible editing, such as a cut-out edge or smoothed skin.
- Wrong pixel size or file type for an online form.
- Printed at the wrong scale because the lab cropped or resized the sheet.
Try it in Photoyam
Crop to the exact ratio, resize to the required pixels and lay out a print sheet, privately in your browser. Free, no sign-up, and your photo never leaves your device.
FAQ
Will a photo I make at home be accepted?
It can be, if it meets every requirement of the issuing agency. Nobody but that agency can guarantee acceptance. Read its current photo rules, compare your photo against them point by point, and if you are unsure, use a professional service.
Can I replace the background with white?
Many agencies prohibit digitally altered photos, and some reject edited backgrounds. The safest route is to shoot against a plain white or off-white wall so no replacement is needed. If the rules you are following allow it, only clean up the background; never change the outline of your head, hair or face.
What is the right size for a US passport photo?
The printed photo is 2 by 2 inches. For digital submission the State Department has specified a square image of at least 600 by 600 pixels. Requirements change, so confirm the current numbers on travel.state.gov before submitting.
How do I print several photos on one sheet?
Enlarge the canvas to 1,800 by 1,200 pixels, which is a 6 by 4 inch print at 300 pixels per inch, fill it with white, and duplicate the 600 by 600 photo layer into a grid. Print it at exactly 6 by 4 inches with no cropping or fit-to-page scaling.