How to Make Clean Product Photos for an Online Store (Free)
Buyers can’t pick your product up, so the photo has to do that job: true color, clear shape, no distractions, and the same look from one listing to the next. This guide covers the few shooting habits that save the most editing time, then a repeatable edit pipeline in Photoyam that turns a phone photo into a square, white-background listing image.
Shoot for the edit
Editing can fix a lot, but three things are far cheaper to get right with the camera than with software.
- Soft, even light. Put the product near a large window with no direct sun on it; overcast daylight is ideal. Turn off room lights so you are not mixing warm bulbs with cool daylight, which produces two different color casts that no single white-balance setting can fix. A sheet of white foam board on the side opposite the window bounces light into the shadows.
- A plain, contrasting background. A sheet of white paper curved from the table up the wall (a “sweep”) removes the horizon line behind the object. For white or clear products, use a light gray sheet instead so the edges stay visible; the cut-out step needs contrast to find the outline.
- Consistent angles and distance. Shoot every product from the same set of angles, and step back and zoom in slightly: a wide lens up close makes the nearest part of the product look oversized. Leave room on every side for the square crop later.
The edit pipeline at a glance
The order matters. Color and exposure come first because the background-removal model finds edges more reliably on a well-exposed photo, and because you want every later step to work from correct colors. The layout steps come last so you can apply the same canvas size and margins to every product in a set.
| Step | Where | Why |
|---|---|---|
| Crop and straighten | Crop tool | Remove clutter and level the product before anything else. |
| White balance and exposure | Filter › Camera Raw Filter… | True product color; a bright, even background. |
| Background removal | Remove Background tool | Isolate the product on transparency or white. |
| Square canvas | Image › Canvas Size… | Identical frame and margins across listings. |
| Shadow | Layer Style › Drop Shadow | Grounds the product so it does not float. |
| Export | File › Export As | The right size and format for the platform. |
Crop, straighten and fix color
- Open the photo in the editor. Open the Photoyam editor and use File › Open…, or drag the file onto the window. Everything happens in your browser tab; the photo is not uploaded.
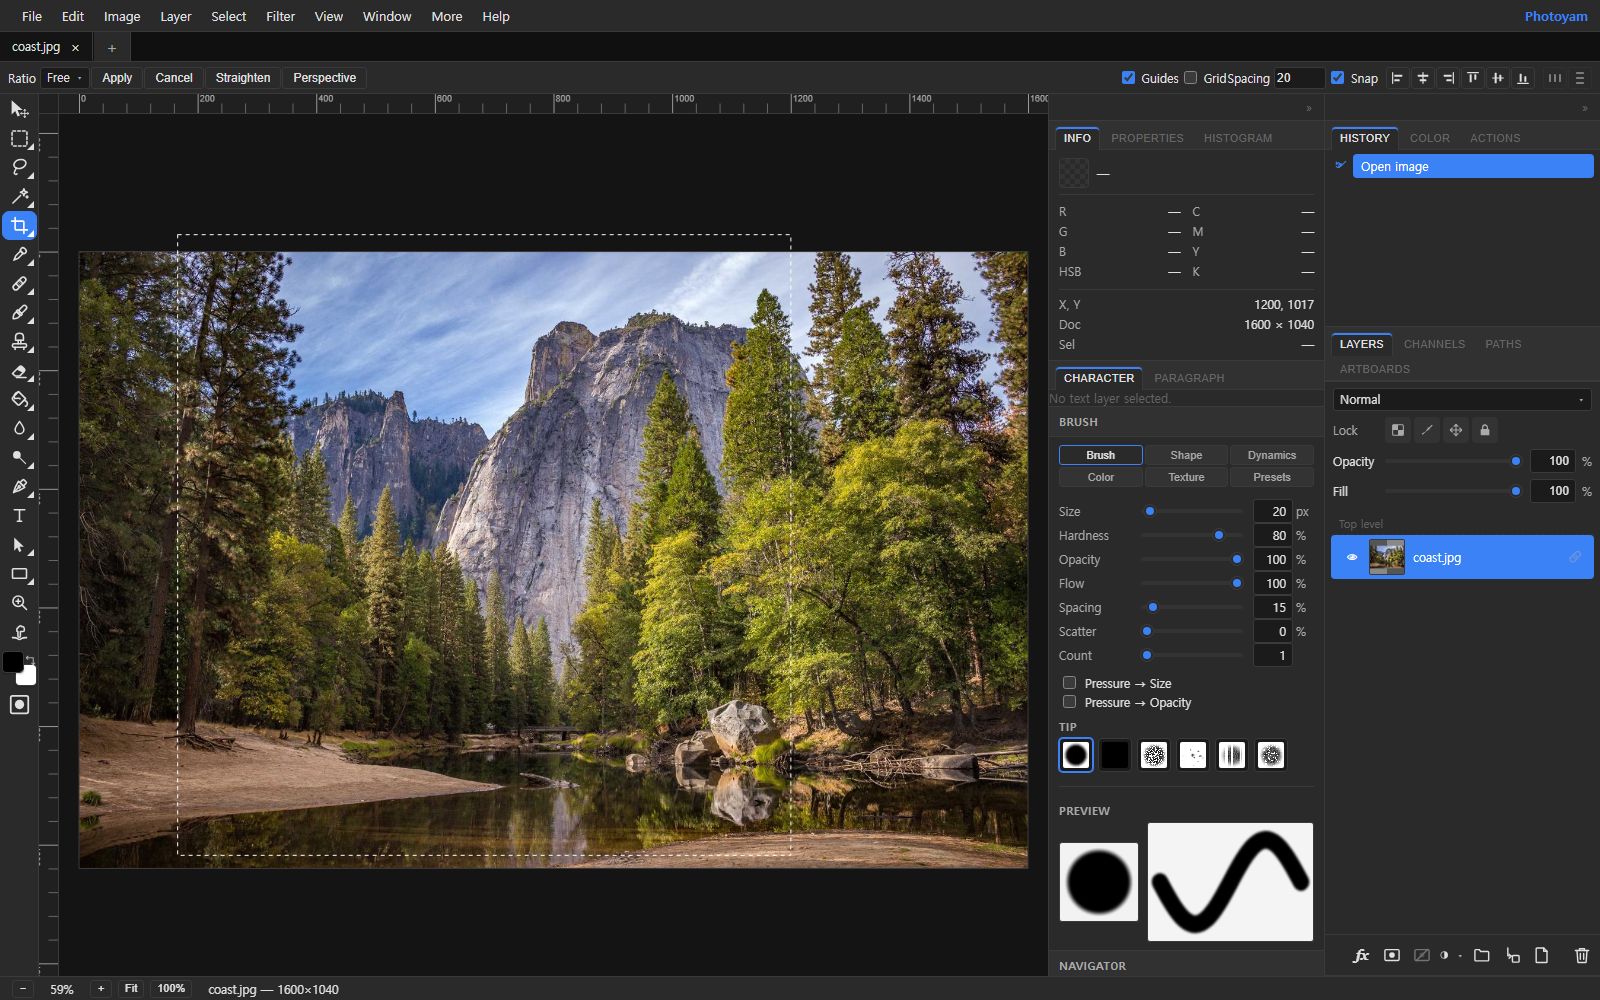
- Straighten. Pick the Crop tool, click Straighten in the options bar, and drag along a line that should be level, such as the bottom edge of a box or the base of a bottle.
- Crop loosely. Drag a crop box that removes the table edge and any clutter but keeps generous space around the product, then click Apply. Do not crop to the final square yet; that happens on the canvas step.
- Neutralize the color. Open Filter › Camera Raw Filter…. If the white paper looks blue, move Temperature toward positive (warmer); if it looks yellow, move it negative. If a green or magenta tint remains, correct it with Tint. Aim for a background with no visible color: buyers return products whose color did not match the photo.
- Set exposure. Raise Exposure until the background is bright but the product’s own highlights still show detail. Use Whites to push the background toward white and Shadows to open up dark areas of the product, then click Apply.
- Save a corrected copy. Use File › Export As › PNG (or JPG at high quality). This corrected file is what you feed to the cut-out step.
Remove the background
Even a good paper sweep shows a gradient, a curve and specks of dust. A clean backdrop is what makes a set of listings look consistent.
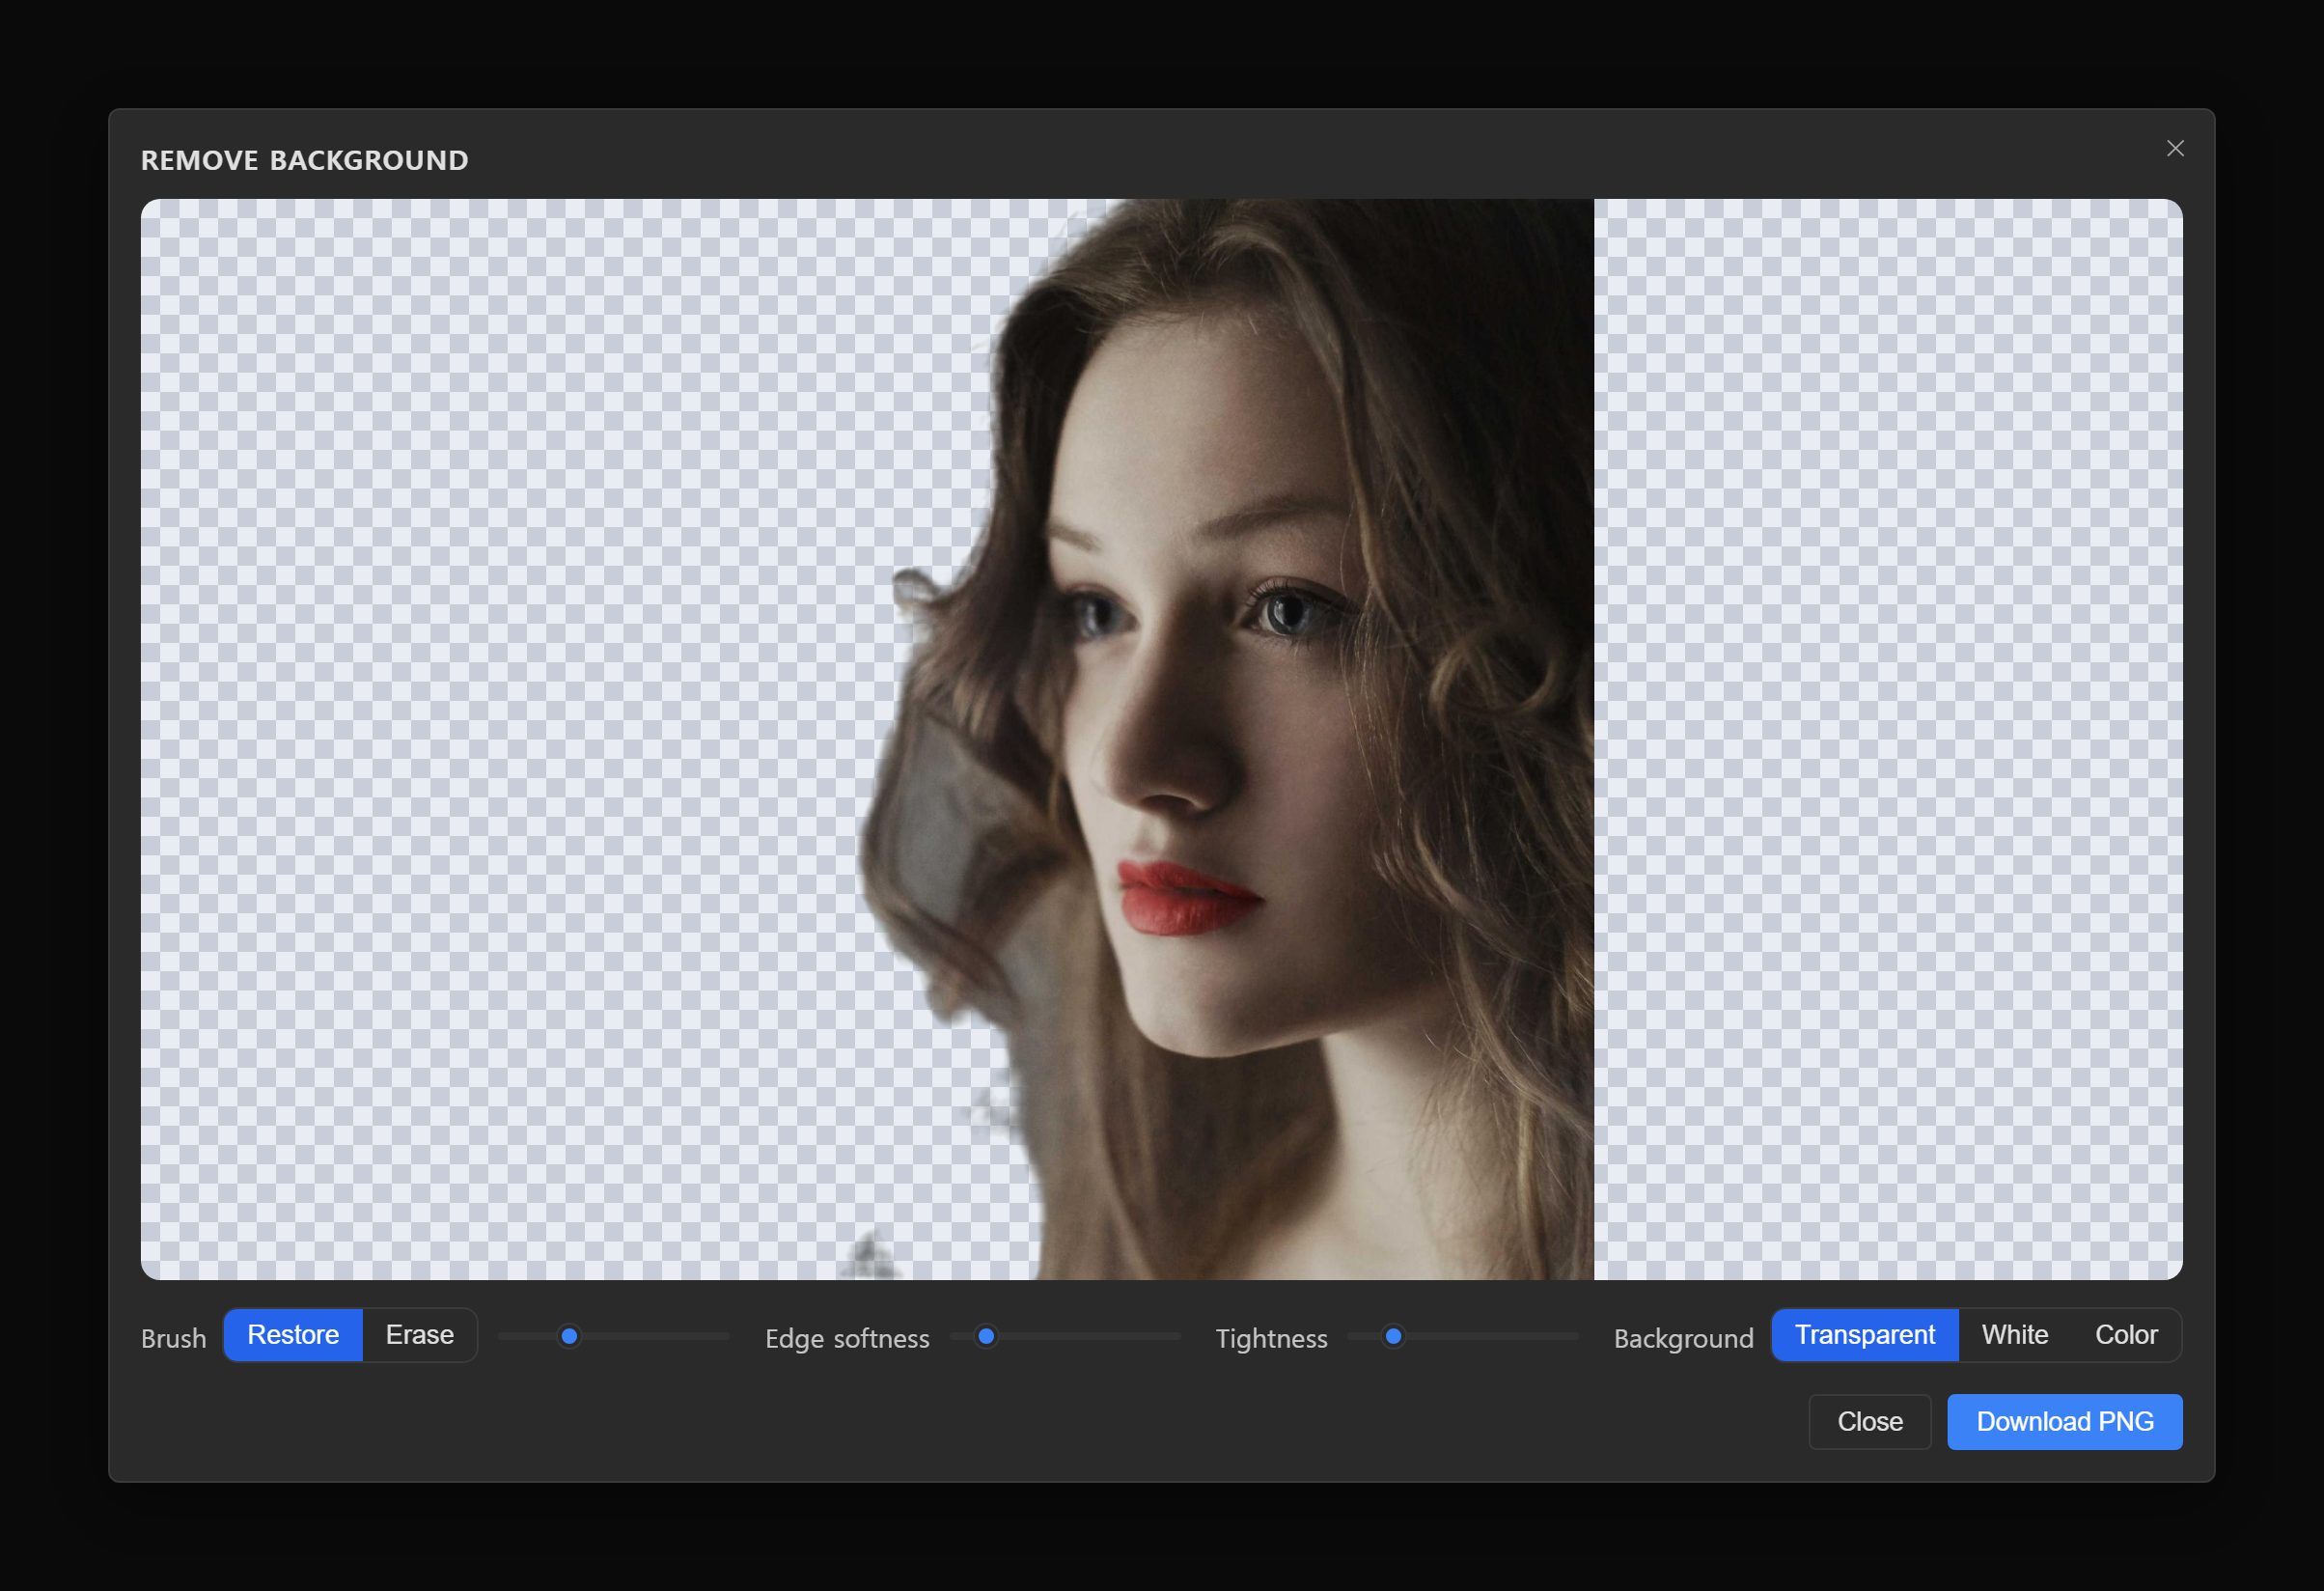
- Run the cut-out. Open the Remove Background tool, add your corrected photo, and click Remove background. The segmentation model runs on your device; the first run downloads the model once.
- Repair the edge. Use Restore to paint back parts of the product the model dropped (thin handles, cords, transparent caps) and Erase for leftovers such as the gap inside a mug handle. Adjust Edge softness and Tightness until the outline is clean without a gray halo.
- Choose transparent or white. Pick Transparent if you will lay the product out on a canvas and add a shadow (the rest of this guide), or White if you only need a quick white-background image. Click Download PNG.
One limit to know: the quick tool processes images at up to 1,600 pixels on the longest side. That is plenty for a 1,600 × 1,600 listing image. If you need a larger master, make the cut-out in the editor instead with a selection, Select › Refine Edge… and a layer mask, which keeps full resolution.
Build a consistent square canvas
Most store grids show square thumbnails. If one product fills 95% of its square and the next fills 60%, the grid looks messy even when each photo is fine on its own. Fix this with a fixed canvas and a fixed fill ratio.
- Open the cut-out. Open the transparent PNG in the editor.
- Trim to the product. Use Image › Trim… to cut away the empty transparent border so the canvas matches the product’s outline.
- Make it square. Open Image › Canvas Size…, set both Width and Height to the same value, and keep the Anchor in the center. Pick the value so the product’s longest side is about 80 to 85% of it: a product 1,300 pixels tall goes on a canvas of about 1,550 to 1,600 pixels. The added area is transparent.
- Add the white backdrop. Set the foreground color to pure white (the small swap arrow next to the color swatches exchanges the default black and white), choose Layer › New Fill Layer › Solid Color, and drag the fill layer below the product in the Layers panel.
Write your fill percentage and canvas size down and reuse them for every product in the catalog, keeping the product’s longest side consistent.
Add a natural shadow
A cut-out on flat white can look like a sticker. A soft shadow tells the eye the object sits on a surface. Select the product layer, click the fx button at the bottom of the Layers panel, and turn on Drop Shadow. Useful starting values:
- Blend mode: Multiply (the default). Multiply only darkens, so the shadow blends into the white instead of laying a gray patch over it.
- Opacity around 20 to 35%, and a Blur large enough that the shadow has no hard edge.
- Distance small, with the Angle set so the shadow falls down and slightly away from your window side. It should agree with the lighting already visible on the product.
For a grounded “contact” shadow instead, paint a soft dark ellipse under the base on a new layer between backdrop and product, set it to Multiply, and lower its opacity. Keep shadows subtle: some marketplaces discourage anything beyond a faint one on the main image.
Export sizes and formats
Use File › Export As and pick JPG, PNG or WebP. The export dialog lets you set Quality, Width and Height and shows an estimated file size, so you can check the result before saving. Some general, long-standing guidance:
- Size. Square images of roughly 1,000 to 2,000 pixels per side are a common target. Larger images allow zoom on platforms that support it; smaller ones look soft on high-density phone screens.
- Background. Marketplaces that require a white main image generally mean pure white, RGB 255/255/255, not light gray. A solid fill layer guarantees that.
- Format. JPG at high quality (80 to 90) for photos on white; PNG only where transparency is needed; WebP for your own website when you control the page.
- Rules change. Required dimensions, file-size limits, whether the product may carry props, text or watermarks, and how much of the frame it must fill differ between marketplaces and are updated from time to time. Check each platform’s current seller image guidelines before a big batch.
Common mistakes
- Boosting saturation to make products “pop.” It changes the product’s actual color and drives returns. Correct color; do not enhance it.
- Cropping too tight in camera. A product touching the frame edge cannot be centered on a square canvas without inventing pixels.
- Different margins per listing. Fix a canvas size and fill ratio and reuse them.
Try it in Photoyam
Correct color, cut out the product, and lay it out on a clean square canvas, all in your browser. Free, no sign-up, and your photos never leave your device.
FAQ
Do I need a lightbox or studio lights?
No. A large window with indirect daylight, a sheet of white paper or foam board as a sweep, and a second white board to bounce light into the shadow side will produce clean results for most small products. Consistency matters more than equipment.
Why does my white background look gray or blue?
Cameras expose for middle gray, so a mostly white scene comes out underexposed, and daylight or shade often adds a blue cast. Correct the white balance first, then raise exposure until the background is close to white. Replacing the background after a cut-out gives you pure white regardless.
Is the cut-out full resolution?
The quick Remove Background tool processes images at up to 1,600 pixels on the longest side. That is enough for a 1,600 by 1,600 listing image. For larger masters, build the cut-out in the editor with a selection and a layer mask.
Should I upload JPG or PNG to my store?
For a product on a solid white background, a high-quality JPG is usually the smallest file with no visible loss. Use PNG only when you need transparency. Many platforms re-compress uploads anyway, so start from a clean, high-quality file.